
Last updated September 24, 2026
Attic Insulation Maintenance Checklist for Westminster Homeowners
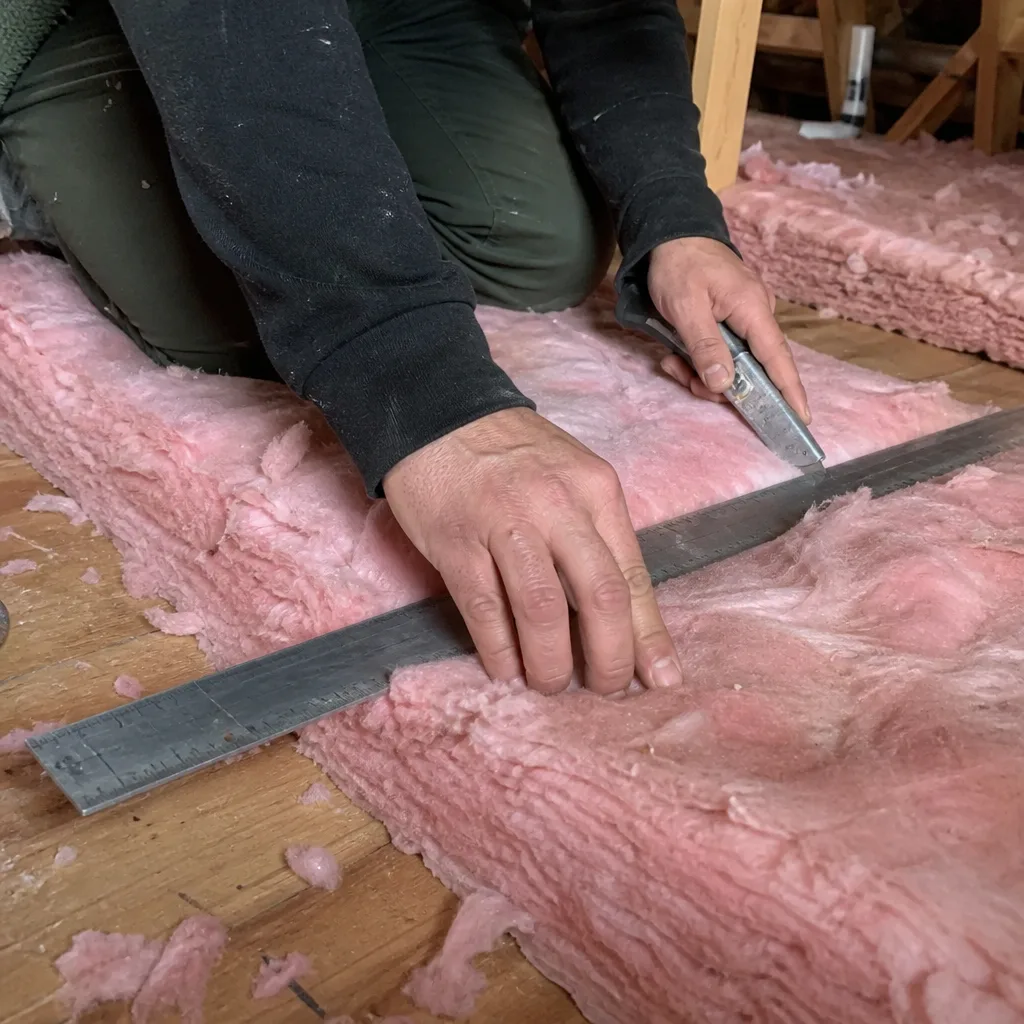
A 2-inch settled depth loss in blown cellulose - common after five years without a check - drops effective R-value by roughly 20 percent, a change invisible from the living space but measurable in 15 minutes with a ruler and a flashlight. In Westminster, where slab-on-grade construction and low-slope roofs dominate neighborhoods from Little Saigon to the Bolsa Chica corridor, that slow degradation happens faster than most homeowners realize. Marine-layer humidity, attic temperatures that swing between 55°F winter mornings and 140°F summer afternoons, and the region’s persistent Santa Ana wind cycles all stress insulation materials in specific, predictable ways. This checklist is built for your actual house type and your actual climate, not a generic national template.
Quick Answer
Westminster homeowners should inspect attic insulation twice yearly - once in late spring after the marine layer thins, once in early fall before heating season - plus perform a detailed depth, moisture, and pest audit every five years. Key tasks include measuring settled depth against California Title 24 installation tags, checking four moisture indicators specific to coastal Orange County humidity patterns, and documenting findings with dated photos. Most maintenance issues caught early cost under $500 to address; the same problem found five years late typically requires full removal and replacement at 8-12 times that cost.
Table of Contents
- Why Insulation Degrades Differently in Westminster
- Annual Checklist: What to Inspect Every Year
- Five-Year Deep Audit: Measuring Settled Depth and R-Value Loss
- Four Moisture Indicators: Westminster’s Marine Layer Signature
- Pest Intrusion: When Insulation Becomes a Health Problem
- When Maintenance Crosses Into Full Replacement
- Documentation: What a Proper Job Record Looks Like
- Common Mistakes to Avoid
- When to Call a Professional
- Frequently Asked Questions
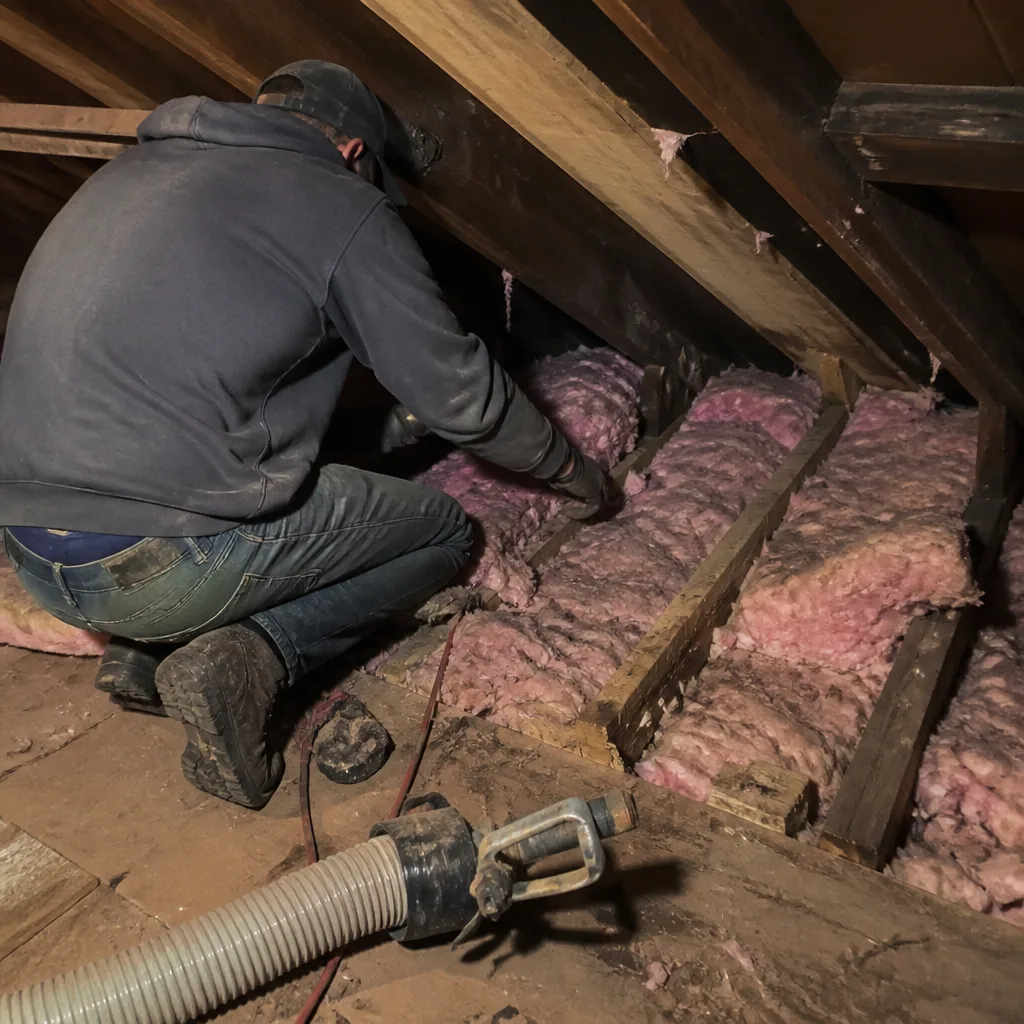 Before
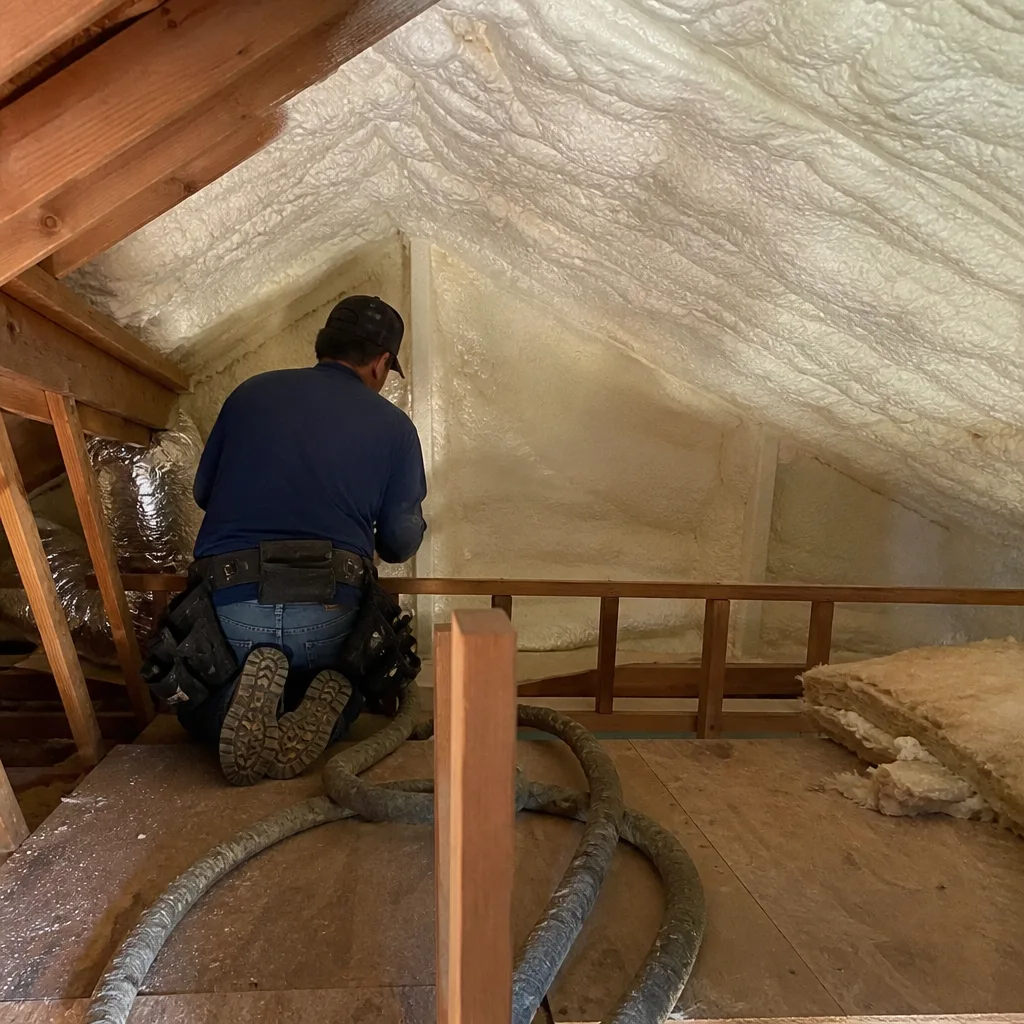 After
AfterWhy Insulation Degrades Differently in Westminster
Westminster’s housing stock breaks from national patterns in ways that directly affect how insulation ages. Roughly 70 percent of homes here are slab-on-grade with low-slope or shallow-pitch roofs, meaning attics are tighter, hotter, and more humidity-trapping than the steep gable attics common in older Midwest or Northeast construction. The attic insulation in Westminster faces a specific stress profile.
First, the thermal cycle range. Attic temperatures in Westminster regularly span 85 degrees between winter low and summer peak, compared to perhaps 60 degrees in coastal San Francisco or 50 degrees in San Diego. That wider swing causes more expansion-contraction fatigue in batts and more settling in loose-fill materials.
Second, the marine layer penetration pattern. Unlike beach cities where ocean air flows through freely, Westminster sits just inland enough that humid air pools rather than passes. Morning fog burns off by 10 a.m. at the coast but can linger past noon here, and attic ventilation designed for drier inland climates often cannot clear that moisture before evening cooling re-condenses it.
Third, the construction era. Most Westminster homes were built between 1960 and 1990, when R-30 was considered adequate and air sealing was rarely performed. These attics typically have numerous ceiling penetrations - original can lights, bath fan housings, top plates with gaps at drywall edges - that become moisture and pest pathways as house settling opens them further.
We’ve inspected attics in the Westminster Village tract where original 1978 fiberglass batts had compressed to 60 percent of labeled thickness, and in the Newland area where blown cellulose installed in 2015 had already settled 2.5 inches below the depth markers. Both homeowners reported “the house just never feels comfortable” - a symptom that maintenance would have prevented.
Annual Checklist: What to Inspect Every Year
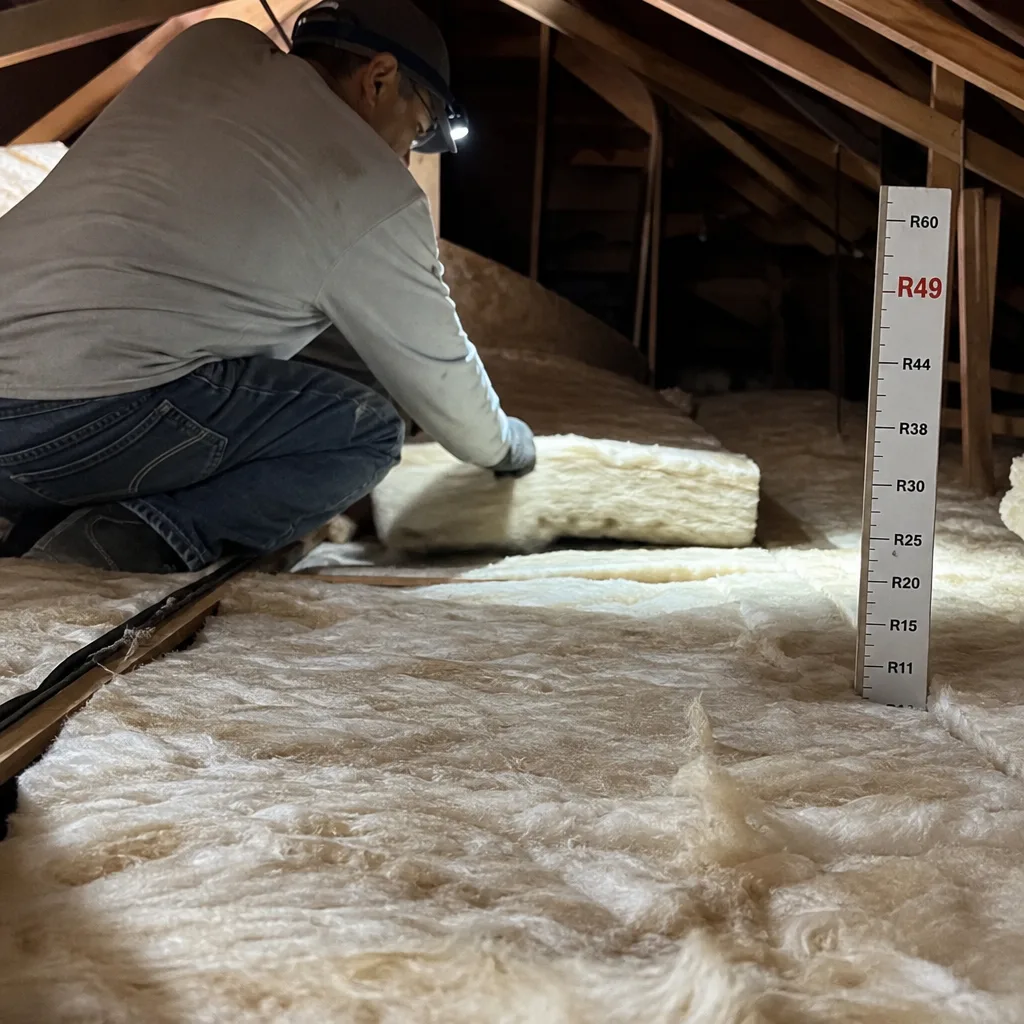
These twelve items take 45-60 minutes and require only a flashlight, work gloves, a dust mask rated N95 or higher, and a camera or phone. Schedule the first inspection for late May, after the marine layer season begins to thin but before summer attic temperatures become dangerous. Schedule the second for mid-October, before you run heating overnight.
- Verify attic access safety. Check that your pull-down stairs or scuttle hole is stable, the ladder arms aren’t rusted, and the opening is weatherstripped. A gap here is a direct air leak into conditioned space.
- Inspect insulation surface condition. Look for areas that appear disturbed, compressed, or discolored. Note any spots where the material looks thinner than surrounding areas - foot traffic during HVAC service is a common cause.
- Check for new penetrations. Any new wiring, conduit, or venting through the ceiling breaks the insulation envelope. These should be sealed with fire-rated caulk or foam and re-insulated.
- Examine HVAC ductwork visible in attic. Look for disconnected flex duct, crushed sections, or tape that has peeled. In Westminster’s humidity, mastic-sealed joints hold where tape fails.
- Look for daylight through roof penetrations. Around chimneys, vent stacks, and any roof-mounted equipment, you should see proper flashing and no visible gaps. Daylight means water and pest entry points.
- Check bathroom and kitchen exhaust terminations. Verify fans vent through roof or gable, not into attic space. Termination hoods should have functioning dampers that close when fan is off.
- Inspect for pest activity. Look for droppings, nesting material, or tunnels in insulation. Rodents in particular create paths that destroy R-value and introduce health hazards.
- Verify baffle placement at eaves. Cardboard or foam baffles should channel ventilation air above insulation without compressing it. Blocked or missing baffles cause wind-washing and moisture buildup.
- Check for ice dam evidence (yes, occasionally). Even in Westminster, rare cold snaps can cause minor ice damming if attic ventilation is poor. Look for stained sheathing at eaves.
- Photograph everything. Date-stamped photos create a record that reveals gradual changes you’d otherwise miss. Store in a dedicated folder.
- Note temperature and humidity. Use a simple hygrometer left in attic for 30 minutes. Relative humidity above 70 percent indicates ventilation or moisture source problems.
- Compare to prior year. Review last year’s photos before you start. Changes that happened gradually become obvious when viewed side by side.
In our experience across Westminster, the most commonly missed annual item is #6 - exhaust terminations. We’ve found bath fans dumping moist air directly into attics in homes on Hazard Avenue, on Westminster Boulevard, and in the Bolsa Chica neighborhood. The homeowner typically discovers it only when insulation replacement becomes necessary.
Five-Year Deep Audit: Measuring Settled Depth and R-Value Loss
This is where you move from surface observation to quantitative assessment. California Title 24 requires insulation contractors to leave installation tags in the attic showing original material type, installed depth, and claimed R-value. These tags are your baseline. If your home was insulated before 2010, tags may be missing; in that case, use the depth that would have been required for the era’s code minimum.
What You’ll Need
- Measuring tape or ruler
- California Title 24 installation tag (or documentation of original installation)
- Material R-value per inch chart (provided below)
- Camera for documentation
- Calculator or spreadsheet
Step-by-Step Depth Measurement
- Locate the installation tag. It should be stapled near the attic access or to a truss. Photograph it. If missing, check for any contractor paperwork in your home files.
- Measure at minimum six locations: center of attic, two spots near eaves, two spots near ridge, and one over the hottest room below. Mark measurement points with tape for future consistency.
- Measure to top of insulation, not compressed. For loose-fill, use a straightedge laid across joists and measure down to material surface. For batts, measure uncompressed thickness.
- Calculate average settled depth and compare to original installed depth.
- Multiply current depth by material R-value per inch to determine current effective R-value.
Common Material R-Values Per Inch
| Material | R-Value Per Inch | Typical Settling Rate (5 years) |
|---|---|---|
| Blown cellulose | R-3.2 to R-3.8 | 10-20% depth loss |
| Blown fiberglass (loose-fill) | R-2.2 to R-2.9 | 5-10% depth loss |
| Fiberglass batts | R-3.0 to R-3.8 | Minimal if undisturbed; significant if compressed |
| Mineral wool (Rockwool) | R-3.0 to R-3.3 | Minimal |
| Spray foam (open-cell) | R-3.5 to R-3.7 | Negligible |
| Spray foam (closed-cell) | R-6.0 to R-6.5 | Negligible |
Here’s the calculation that matters. Suppose your Westminster home was built in 1985 and received blown cellulose to R-30 in 2010. Original depth at R-3.5 per inch would be 8.6 inches. After fifteen years, you measure 6.8 inches average. Current R-value: 6.8 × 3.5 = R-23.8. You’ve lost 20.7 percent of thermal performance. At current Orange County electricity rates, that typically costs $180-340 annually in excess heating and cooling.
The threshold for action: when measured R-value drops below 80 percent of original, or when settled depth loss exceeds 2 inches in loose-fill materials. Either indicates material degradation beyond normal aging, often from moisture cycling, pest activity, or repeated compression.
We’ve documented this exact scenario in Westminster’s Goldenwest neighborhood, where a 2004 installation of blown fiberglass had settled from 12 inches to 9.5 inches - a 21 percent R-value loss that the homeowner only discovered during a Topside Attic Insulation Westminster home energy audit. The blower-door test showed 3,800 CFM50 before air sealing and insulation restoration, and 2,100 after.
Four Moisture Indicators: Westminster’s Marine Layer Signature
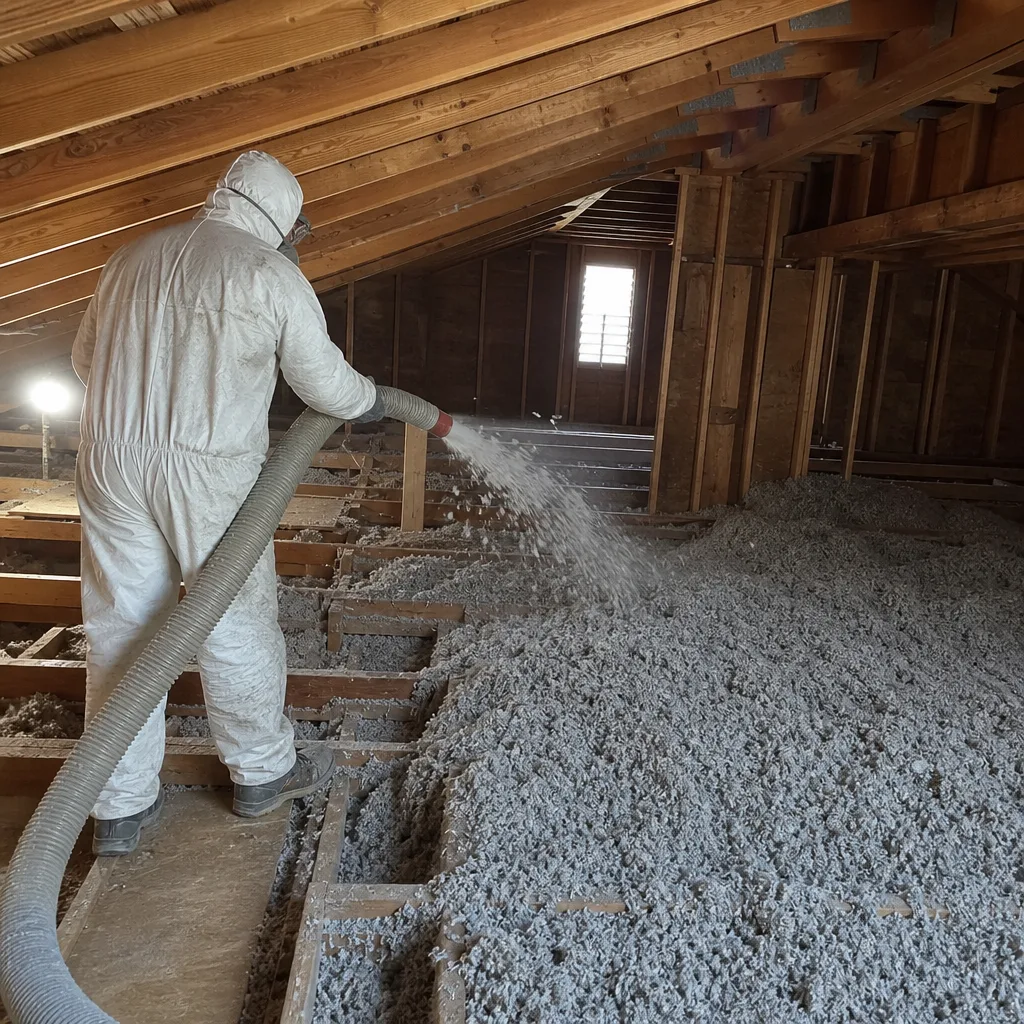
Westminster’s specific humidity pattern creates a recognizable signature in attic insulation. These four indicators, seen together or separately, tell you moisture is actively degrading performance and potentially creating health hazards.
1. Condensation on HVAC Ductwork
In Westminster’s climate, supply ducts in unconditioned attacts sweat when cold air meets humid attic air. Look for water droplets on duct exterior, rust spots on metal fittings, or white powdery residue on flex duct outer wrap. This is often the first visible moisture sign because ducts run coldest during marine layer mornings. Persistent condensation saturates surrounding insulation, collapsing its structure and promoting mold. We’ve replaced insulation in homes on Edwards Street where years of duct sweating had turned adjacent cellulose into a compacted, moldy mat.
2. Rust on Truss Plates
Metal gusset plates connecting roof truss members should show clean galvanized surfaces. Surface rust indicates repeated condensation events. Advanced rust with flaking metal means moisture has been present long enough to threaten structural integrity. In Westminster’s older tracts, we’ve found truss plate rust in attics where bathroom vents terminated too close to the ridge, creating a moisture plume that settled on the highest, coldest surfaces.
3. Dark Streaking on Batts
Fiberglass batts that show gray or brown streaking, especially in vertical patterns following truss members, indicate airborne dirt deposition on wet surfaces. The streaking pattern reveals air movement paths - typically convection currents carrying humid attic air across cold insulation. This “ghosting” pattern is common in Westminster homes with inadequate soffit ventilation, where stagnant humid air stratifies and condenses on upper surfaces.
4. Mold at Eave-Blocking Gaps
Where insulation meets the exterior wall top plate at eaves, gaps often form as materials settle or as baffles shift. These gaps become condensation points because cold outside air meets warm, humid inside air. Look for black or green mold growth on wood surfaces, insulation facing, or baffle material. In Westminster’s climate, this pattern is particularly common on north-facing eaves where morning marine layer shade persists longest.
If you find any two of these four indicators, you have an active moisture problem requiring professional assessment. The source may be ventilation imbalance, air leakage from conditioned space, or roof system failure. Adding insulation over wet material traps moisture and accelerates degradation. At Attic Insulation in Westminster, we routinely find that proper air sealing - sealing top plates, can lights, and penetrations before any insulation work - eliminates the moisture source that caused the original problem.
Pest Intrusion: When Insulation Becomes a Health Problem
Insulation compromised by pests is no longer just an energy issue. Rodent urine and feces can carry hantavirus, leptospirosis, and salmonella. Bird and bat droppings harbor histoplasmosis. The inspection sequence matters because disturbing contaminated material without proper containment aerosolizes pathogens.
Inspection Sequence (Do Not Skip Steps)
- Visual survey from access point only. Before entering, use flashlight and camera zoom to scan for droppings, nesting material, tunnels, or dead animals. If heavy contamination is visible, stop and call a professional with respiratory protection and containment capability.
- Identify pest type by evidence. Rodent droppings are rice-grain shaped, 1/8 to 1/4 inch. Bat guano is crumbly, contains insect fragments, and accumulates in piles. Bird droppings are white and black mixed. Each requires different remediation protocol.
- Map contamination extent. Photograph all affected areas. Contamination spread beyond a 10-foot radius typically requires full removal rather than spot treatment.
- Check for active entry points. Look for gnaw marks on wood, chewed wiring insulation, and gaps at roof penetrations larger than 1/4 inch (mice) or 1/2 inch (rats). Entry point identification is required before any new insulation goes in, or pests simply recontaminate.
- Assess insulation condition beneath contamination. Surface droppings may overlie intact material, or pests may have tunneled extensively, destroying R-value throughout. Probe gently with a stick - do not touch with bare hands.
In Westminster, roof rat activity peaks in late summer and early fall when citrus and other fruit ripens. We’ve treated attics in the Little Saigon commercial-residential mixed areas where rats traveled from backyard fruit trees to attic spaces via overhead utility lines. The insulation was not merely settled but shredded into nesting material, with contamination extending across 80 percent of attic area.
Critical rule: never add new insulation over pest-contaminated material. The Crawl Space Encapsulation & Vapor Barrier in Westminster team at Envelope Insulation Co. follows the same protocol - complete removal, disinfection, entry sealing, then new material. This sequence protects both occupant health and the investment in new insulation.
When Maintenance Crosses Into Full Replacement
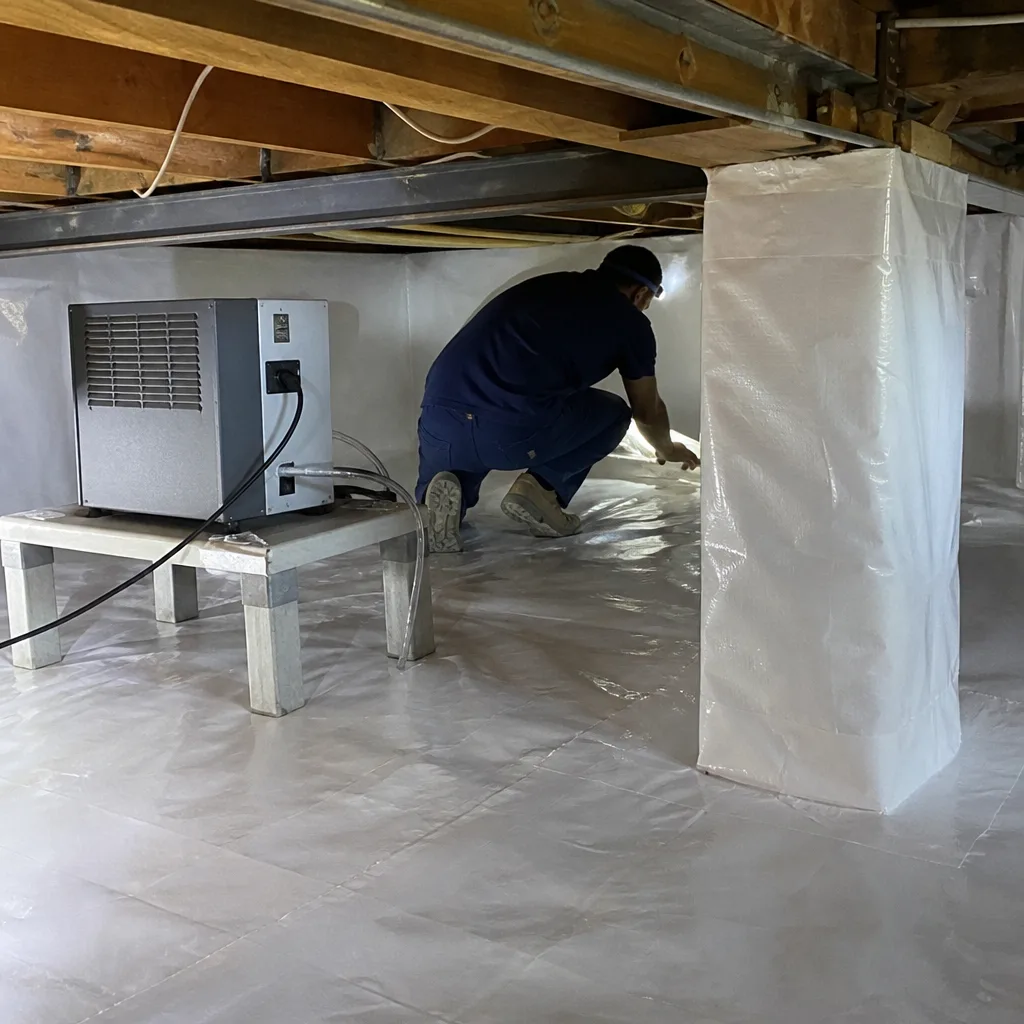
Some conditions cannot be maintained back to performance. Knowing the threshold saves money spent on partial fixes that fail within two years.
| Condition | Maintenance Response | Replacement Threshold |
|---|---|---|
| Settled depth loss under 2 inches, no moisture damage | Add loose-fill to restore depth | Depth loss over 2 inches, or R-value below 80% of original |
| Localized moisture staining on 5-10% of area | Remove affected section, identify and fix source, replace | Staining over 25% of area, or any mold on structural wood |
| Minor rodent droppings, limited area, no nesting | Remove affected insulation, disinfect, seal entry, replace | Nesting material present, or contamination over 10-foot radius |
| Compressed batts from foot traffic | Fluff or replace affected sections | Compression exceeds 25% of attic area from multiple service visits |
| Damaged vapor barrier on batt facing | Replace affected batts | Widespread facing deterioration from age and heat |
The replacement decision should be documented with before photos, moisture meter readings where applicable, and a written scope specifying material type, depth, and R-value target. Under Haven Standard Clause 1, Envelope Insulation Co. provides this documentation before any work begins - flat price, written scope, written warranty. The 365-Day Done Right Promise applies to all completed work.
We’ve found that Westminster homeowners who delay replacement past the threshold typically face compounded costs: not just insulation, but drywall repair from moisture damage, HVAC duct replacement from corrosion, and in severe cases, structural repair from long-term truss plate rust. The $400 maintenance catch-up becomes a $4,000-7,000 full envelope restoration.
Documentation: What a Proper Job Record Looks Like
Whether you do maintenance yourself or hire a contractor, the record you keep determines whether future maintenance is effective. A proper job record includes six elements:
- Date and weather conditions. Attic conditions vary seasonally; knowing inspection was done in May versus October explains findings.
- Photographs with location references. “North eave, east end” beats “attic photo 1” when comparing year to year.
- Measured depths at marked points. Consistent measurement locations reveal true trends versus random variation.
- Material identification. Brand and product line if known - Owens Corning AttiCat, Johns Manville Climate Pro, Knauf Jet Stream, or Rockwool Comfortbatt each have specific aging characteristics.
- Findings and recommended actions. Specific, not generic: “Add 2 inches cellulose at north eave” not “insulation needs attention.”
- Contractor documentation if applicable. Written price, written scope, written warranty - the Haven Standard trio - plus before-and-after blower-door numbers on air-sealing jobs.
For professional jobs, insist on the Spray Foam Insulation in Westminster documentation standard even if your job uses different materials: photo record of conditions before work, photo record of completed installation, and performance verification where applicable. We’ve delivered over 9,000 homes sealed and insulated since 2016, every one with a written price before work started and a documented record when the crew left. The photo record is included on every job, not available on request - you should expect the same from any contractor you hire.
Common Mistakes to Avoid
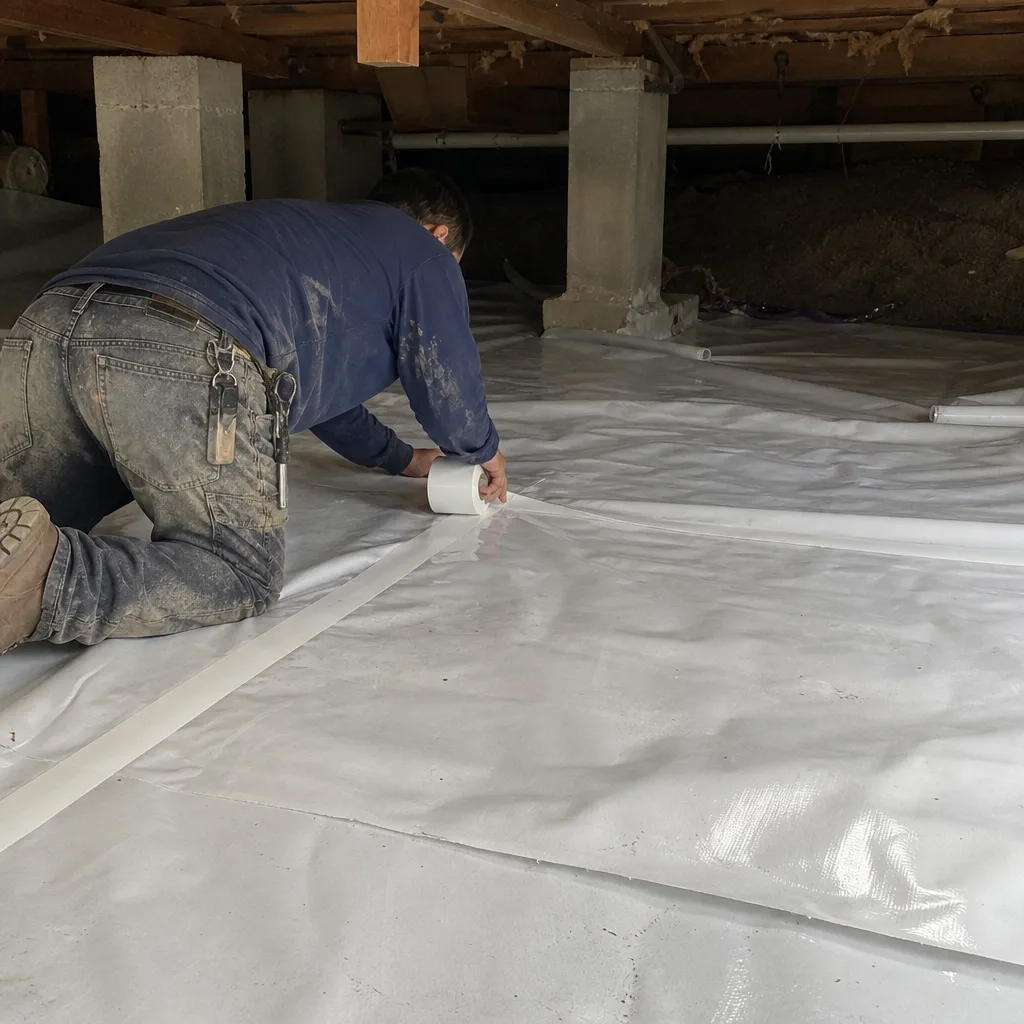
- Measuring only at the attic access. The access area is typically most disturbed and least representative. Measure at multiple points, especially over the rooms that feel uncomfortable.
- Adding insulation over wet material. This is the most expensive mistake we correct in Westminster. Moisture trapped between old and new insulation destroys both layers and promotes mold on sheathing.
- Ignoring the air-sealing prerequisite. Blowing new insulation over an unsealed attic floor is like pouring water into a bucket with holes. The attic insulation performance you paid for leaks away through can lights and top plate gaps.
- Using compressed batts as depth reference. Foot traffic during HVAC service compresses batts permanently. Measure adjacent undisturbed areas for true depth.
- Skipping pest inspection before adding material. We’ve removed brand-new insulation installed directly over active rodent infestation - the homeowner paid twice and still had a health hazard.
- Relying on touch rather than measurement. Insulation feels “about the same” until you measure and find 2.5 inches of settled depth loss. Numbers reveal what perception misses.
- Not documenting the baseline. Without original installation tags or photos, you cannot prove degradation to an insurance adjuster or home buyer. Documentation has value beyond maintenance.
When to Call a Professional
Call for assessment when you find moisture indicators on structural wood, contamination beyond a 10-foot radius, electrical hazards (exposed wiring, chewed insulation), or any condition that makes you uncomfortable entering the attic. Also call when your five-year audit shows R-value below 80 percent of original, or when you need air sealing before adding insulation - which is always, in our view, but especially when blower-door testing shows leakage above 3,000 CFM50 for a typical 1,500-square-foot Westminster home.
Topside Attic Insulation Westminster offers free estimates in Westminster. A trained technician will inspect your attic, measure current performance, and provide a written scope and flat price before any work is discussed. We publish before-and-after blower-door numbers on every applicable job so you can verify the air-sealing result in a single figure. Materials are sourced from Owens Corning, Johns Manville, Knauf, Rockwool, and other leading manufacturers - no proprietary lock-in. Call (562) 526-6978 to schedule. Calls are answered by a live person, 24/7.
Frequently Asked Questions
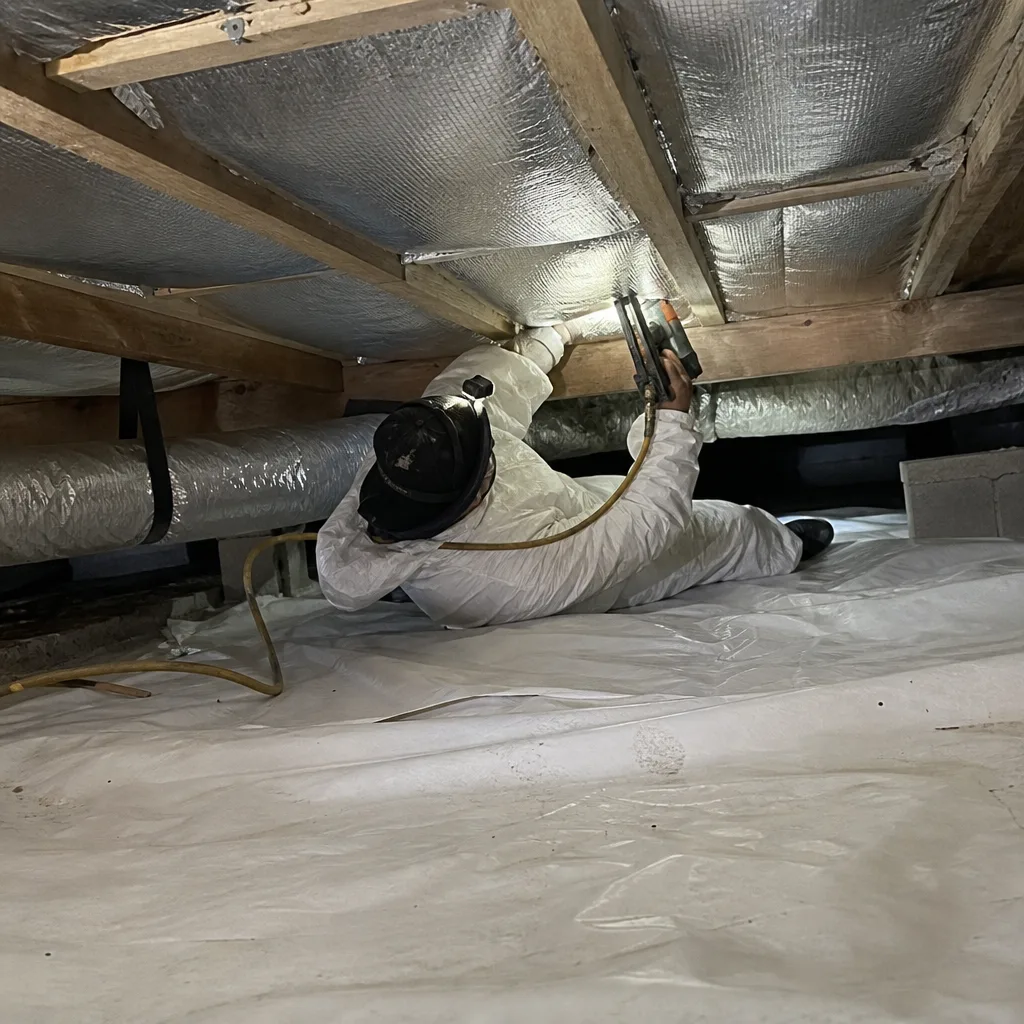
Inspect twice yearly - late spring and early fall - with a detailed depth, moisture, and pest audit every five years. The marine layer humidity in Westminster makes the spring timing particularly important, as winter moisture accumulation becomes visible before summer heat compounds the damage.
Current California Title 24 standards call for R-38 minimum in Orange County attics, with R-49 recommended for optimal performance. Many Westminster homes built before 2005 have R-19 or R-30 original installations that no longer perform to labeled value due to settling. Call (562) 526-6978 for an exact assessment of your current effective R-value - estimates are free.
Typical maintenance - adding loose-fill to restore settled depth, sealing new penetrations, replacing damaged batts - runs $400-900 for a standard 1,500-square-foot home. Full removal and replacement due to moisture or pest damage typically costs $3,500-7,500 depending on contamination extent and whether air sealing is needed. Catching issues at maintenance stage avoids the 8-12x cost multiplier of deferred replacement.
Only if the old insulation is dry, uncontaminated, and uncompressed. In Westminster’s climate, we find that 40 percent of attics we inspect fail at least one of these conditions due to marine-layer moisture cycling. Adding material over wet or moldy insulation traps moisture and voids manufacturer warranties. A professional moisture assessment takes 30 minutes and prevents a costly mistake.
The combination of wider daily temperature swings (slab-on-grade thermal mass creates different heat flow patterns than raised-floor construction) and higher humidity cycling causes cellulose fibers to expand and contract more frequently. Each cycle breaks fiber bonds that maintain loft. Additionally, Westminster’s Santa Ana wind events pressurize attics and can redistribute loose-fill material toward leeward eaves.
Proper ventilation in Westminster requires balanced intake at soffits and exhaust at or near the ridge, with a minimum 1:300 ratio of ventilation area to attic floor area. Check that soffit vents are unblocked by insulation, ridge vents are intact without debris, and airflow is perceptible on a breezy day. Inadequate ventilation shows as the four moisture indicators described above. We include ventilation assessment in every attic inspection - call (562) 526-6978 to schedule.
Annual visual inspection and photography are safe DIY tasks for most homeowners. Depth measurement requires only basic tools and caution. However, any work involving disturbance of insulation - adding material, removing damaged sections, or pest remediation - should use respiratory protection and proper containment. For homes with vermiculite insulation (pre-1990, gray-pebble appearance), professional testing for asbestos is mandatory before any disturbance. When in doubt, a professional assessment protects both your health and your investment.
The Bottom Line
Attic insulation in Westminster degrades through specific, observable mechanisms: settling that drops R-value 20 percent in five years, moisture cycling from marine-layer humidity, and pest intrusion that converts energy material into health hazard. The homeowners who avoid surprise replacement costs are those who measure rather than guess, document rather than assume, and address maintenance before conditions compound. This checklist gives you the inspection sequence and decision thresholds to do exactly that. The 15 minutes with a ruler and flashlight, twice yearly, is the difference between a $500 maintenance correction and a $5,000 envelope restoration.
Written by Wes Okafor, Owner at Topside Attic Insulation Westminster, serving Westminster since 2016.