
Last updated September 24, 2026
DIY vs Professional Insulation: The Westminster Homeowner’s Decision Guide
Here’s the problem most Westminster homeowners don’t discover until it’s too late: insulation slows conductive heat transfer, but it doesn’t stop air movement. We’ve inspected attics in the Westminster Heights area where a homeowner rented a blower, added R-19 of blown cellulose over unsealed top-plate gaps, and saw utility bills drop by roughly half of what a properly sealed-then-insulated attic would deliver. The new insulation looked correct. It was the right depth, the right material. But because air sealing never happened first, conditioned air kept escaping through the same pathways, now buried under a layer that makes future access harder. In this guide, you’ll learn exactly what insulation work you can handle yourself in Westminster, what requires professional equipment and diagnostics, and how California’s Title 24 compliance rules affect your permit path-or explore more guides & resources on home energy improvements.
Quick Answer
Most Westminster homeowners can handle batt replacement in accessible attic runs, attic hatch weatherstripping, and outlet foam gaskets on their own. Professional work becomes necessary when blower-door diagnostics, dense-pack wall insulation, or Title 24 permit documentation is required, since California law mandates licensed contractor sign-off on CF2R/CF3R forms for permitted envelope work-see our guide on Insulation Permits, Codes & Inspections in CA: What You Need to Know for details. The performance gap between DIY and professional installation typically comes down to sequencing: professionals air-seal first, then insulate, which changes the outcome more than the insulation material itself.
Table of Contents
- What Homeowners Can Realistically DIY
- What Requires Professional Equipment
- California Title 24 Compliance: The Permit Barrier
- Cost Comparison: DIY vs. Professional in Westminster
- Using DIY Work as a Supplement to Professional Service
- How Westminster’s Climate Affects Your Insulation Strategy
- Common Mistakes to Avoid
- When to Call a Professional
- Frequently Asked Questions
- The Bottom Line
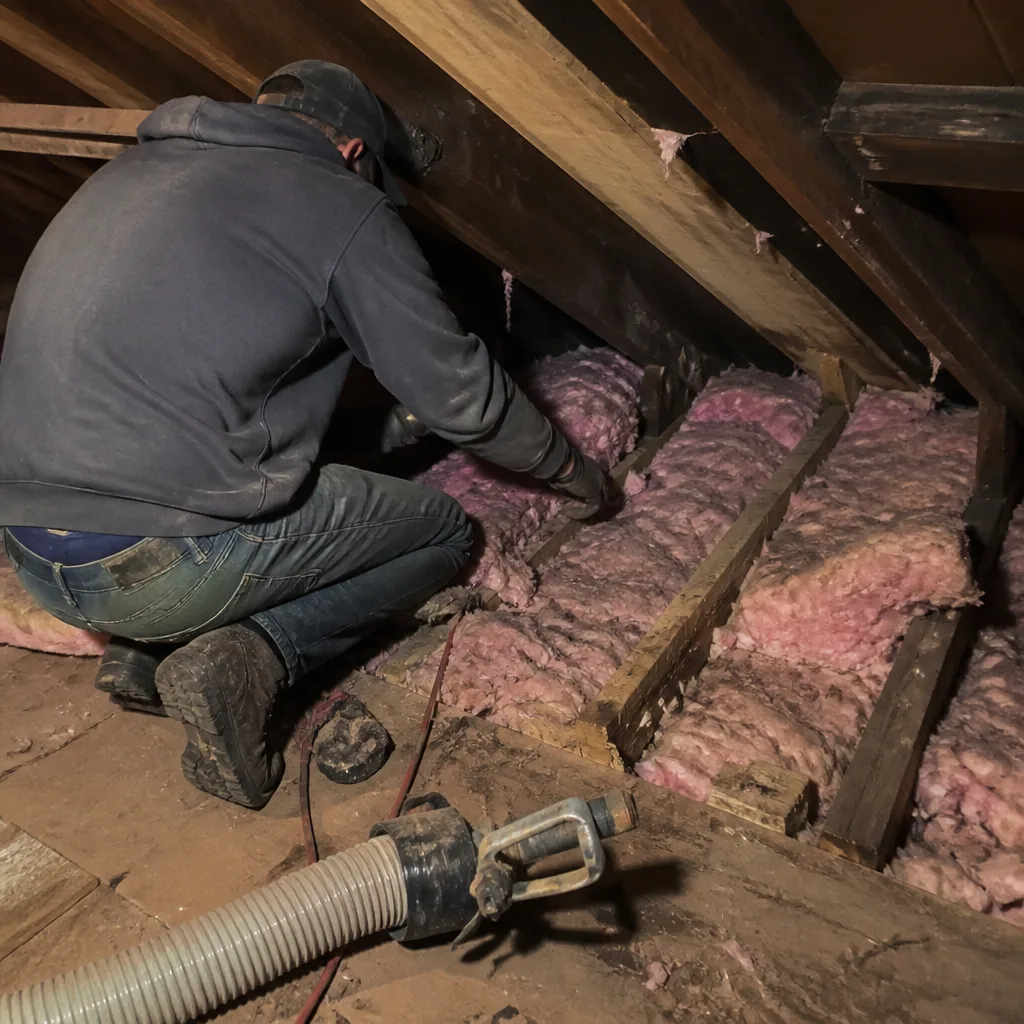 Before
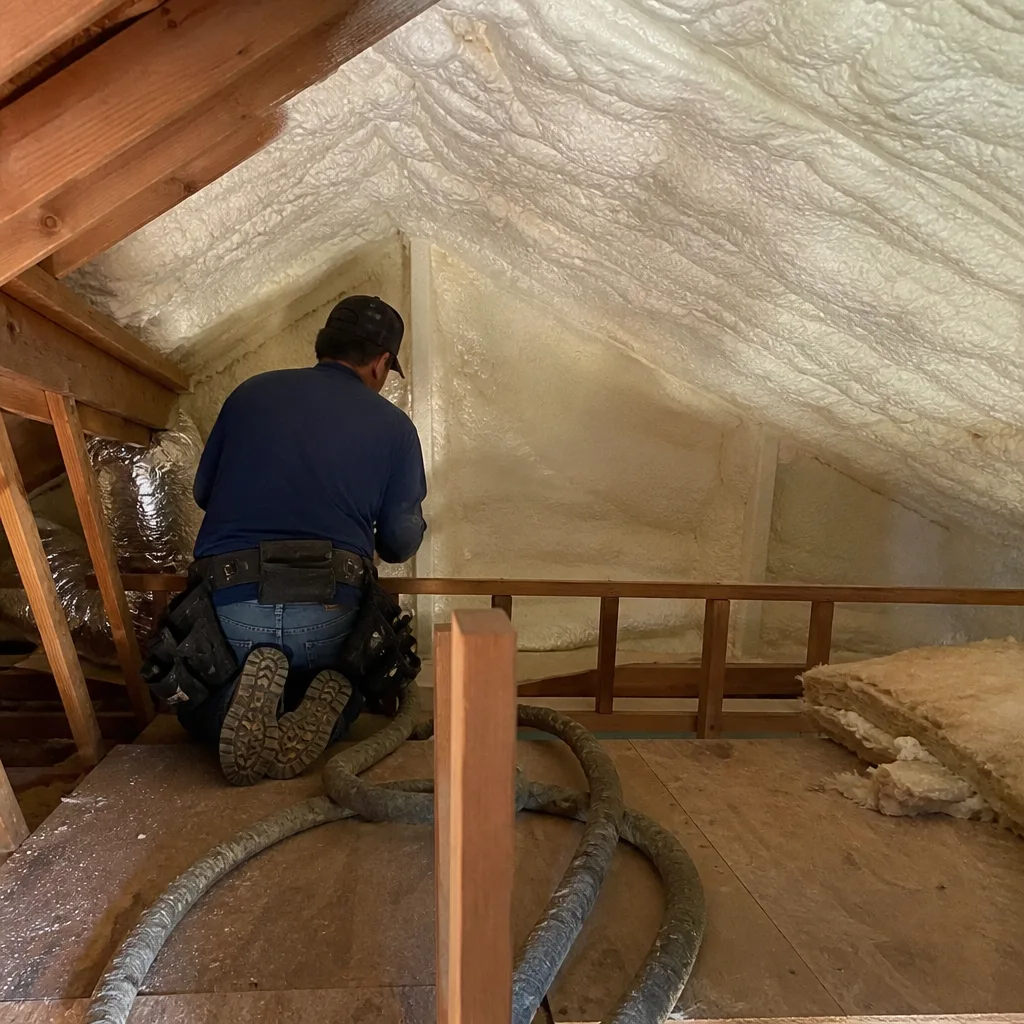 After
AfterWhat Homeowners Can Realistically DIY
Not every insulation task demands a crew. Some jobs are genuinely accessible to a homeowner with a free weekend, basic tools, and the ability to work in an attic safely. The key is matching your effort to tasks where mistakes are reversible and the performance impact is straightforward to verify.
Batt Replacement in Accessible Attic Runs
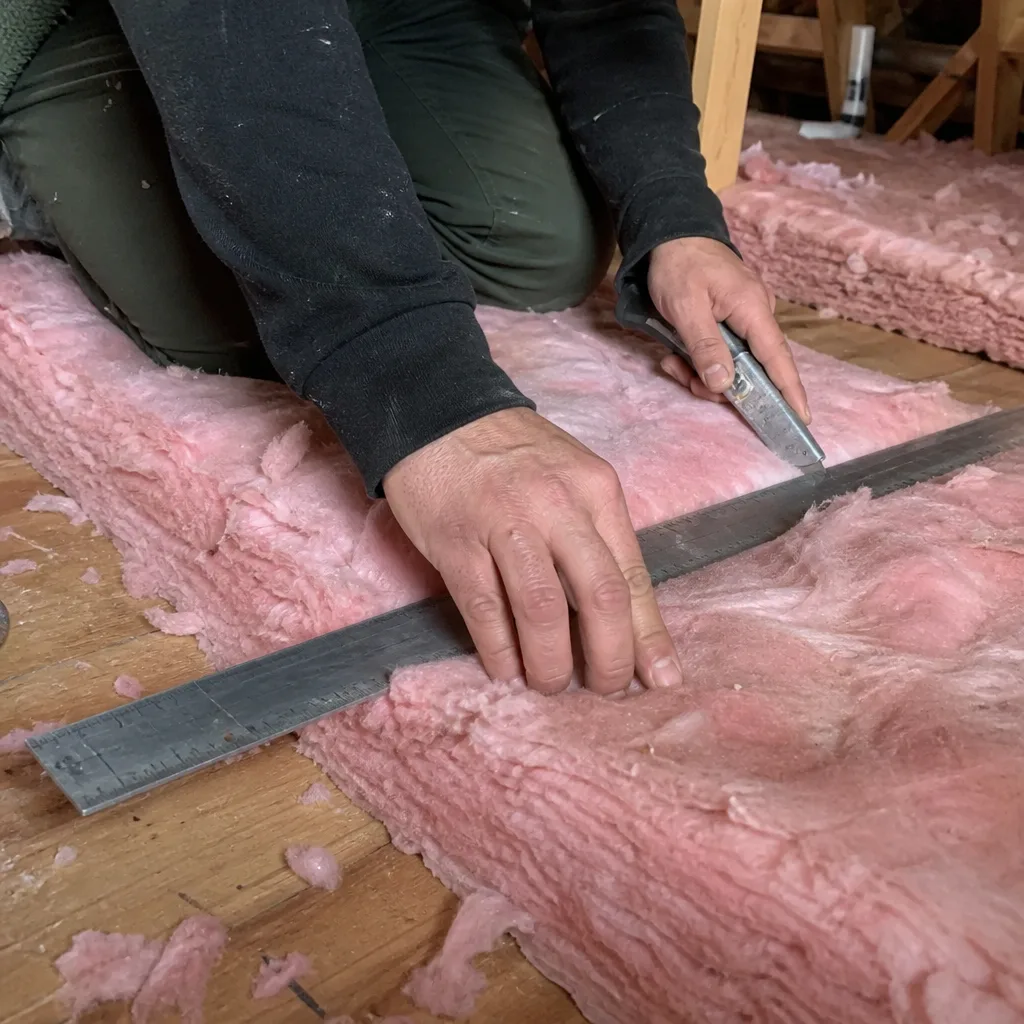
If your Westminster home has fiberglass or mineral wool batts laid between joists in an attic with solid flooring or wide truss spacing, you can replace degraded material yourself. Look for batts that have compressed below their labeled thickness, gotten wet from a past roof leak, or been disturbed by rodent activity. In neighborhoods like Little Saigon and the areas near Bolsa Chica Road, we see this frequently in homes built between 1960 and 1985 where original fiberglass has settled from R-19 to something closer to R-13.
What you’ll need: matching batt material (Knauf or Rockwool are commonly stocked at Westminster-area supply houses), a utility knife with extendable blade, long sleeves and gloves, a headlamp, and a straightedge for cutting around obstructions. Work from the attic access outward. Lay batts perpendicular to joists if you’re adding a second layer over existing material. Don’t compress the material; R-value is thickness-dependent, and a batt squashed into a cavity narrower than its designed loft performs below its rating.
The realistic R-value impact: replacing compressed R-19 batts with fresh, full-thickness material in a 1,200-square-foot attic will improve conductive resistance measurably, but won’t address air leakage through top plates, electrical penetrations, or the attic hatch itself.
Attic Hatch Weatherstripping
The attic hatch is often the largest unsealed hole in the pressure boundary of a Westminster home. A 2-foot by 3-foot hatch with no weatherstripping can leak as much conditioned air as a 6-inch diameter hole in the wall. This is fixable in an hour.
- Remove the existing trim around the hatch frame.
- Clean the contact surface where the hatch door meets the frame.
- Apply closed-cell foam weatherstripping tape to the frame, not the door, so compression is consistent when the hatch closes.
- Add insulation to the hatch door itself, either by attaching a batt cut to size or by building a simple insulated box that sits on top.
- Install latch hardware that pulls the hatch tight against the seal.
Cost: $15-$40 in materials. Time: 1-2 hours. The air-leakage reduction is immediate and verifiable with a simple smoke pencil or incense stick on a breezy day.
Outlet and Switch Plate Foam Gaskets
Exterior wall outlets and switches in Westminster’s older homes, particularly the ranch-style builds near Westminster Boulevard and the 1960s tracts south of Hazard Avenue, often leak air through the electrical box into the wall cavity. Foam gaskets install behind the cover plate in minutes. Turn off the breaker, remove the plate, slide the gasket over the device, and reinstall. Cost is under $0.50 per outlet. The aggregate leakage reduction across a whole house is modest but real, and it’s a task that requires no specialized skill.
What DIY Cannot Do: Verify the Result
The limitation of all three tasks above is that you cannot measure whether you found the leaks that matter most. A homeowner can feel a draft or see daylight at a hatch, but cannot quantify total envelope leakage or identify whether the dominant leakage path is the hatch, the top plates, the can lights, or the duct chase. That diagnostic gap is where professional work diverges from DIY.
What Requires Professional Equipment
Some insulation work is technically possible for a homeowner but practically inadvisable, either because the equipment cost exceeds any reasonable payback period or because the task requires real-time measurement that isn’t available with consumer tools.
Blower-Door Diagnostics
A blower door is a calibrated fan that mounts in an exterior door frame and depressurizes the house to a standard 50 Pascals. The resulting CFM50 reading, a single number, tells you how much air the building envelope is losing. More importantly, the test protocol includes diagnostic steps: walking the house with a smoke pencil while the fan runs to locate leakage paths that are invisible at neutral pressure.
In Westminster’s climate, where summer cooling loads dominate and winter heating is mild but persistent, the typical unsealed home from the 1970s or 1980s tests at 3,500-5,500 CFM50. After professional air sealing of top plates, can lights, penetrations, and duct chases, that same home often tests at 2,000-3,000 CFM50. The insulation that follows then performs as designed, because it’s not being bypassed by air moving through the cavity.
Homeowners cannot rent a calibrated blower door. The equipment costs $3,000-$5,000, requires annual recalibration, and the diagnostic protocol takes training to execute consistently. Without it, you’re guessing at leakage locations and sequencing.
Dense-Pack Wall Insulation
Adding insulation to existing walls without removing drywall means drilling access holes and blowing material at controlled density. “Dense-pack” means filling the cavity to a density where the material resists settling and air movement, typically 3.5-4.5 pounds per cubic foot for cellulose. Achieving this requires a high-volume blower with back-pressure monitoring and a fill tube technique that homeowners cannot replicate with rental equipment.
The risk of DIY wall insulation is underfilling, which leaves voids where convection loops form, or overpressurizing, which can bulge drywall or damage plaster. In Westminster’s stucco-clad homes, exterior access holes are also more complex to seal properly than siding homes.
Two-Component Spray Foam at Rim Joists
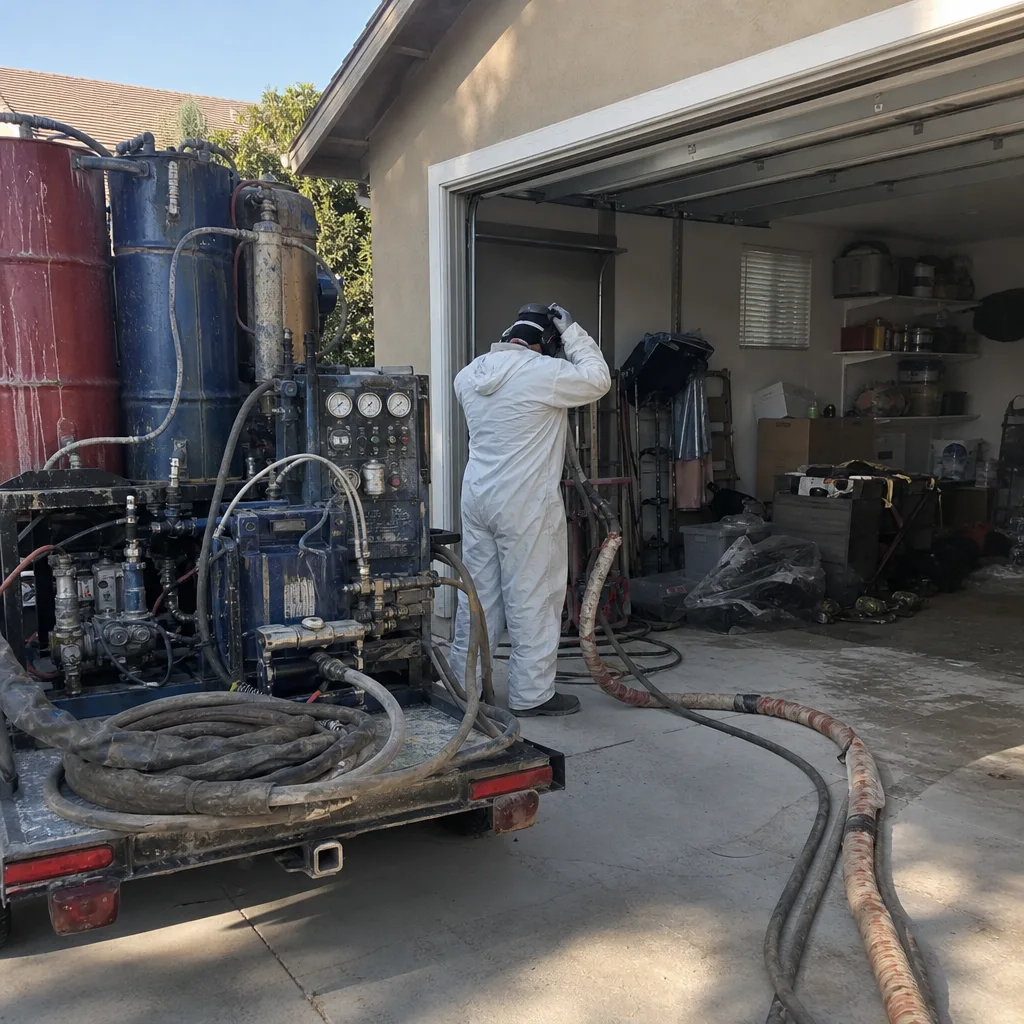
The rim joist, where the foundation meets the first floor, is often the leakiest square footage in a house. Spray foam insulation in Westminster at this location requires two-component equipment that mixes isocyanate and resin at the gun, with precise temperature and ratio control. Icynene and similar open-cell products expand to fill irregular cavities and create both an air barrier and insulation layer in one pass. DIY kits exist but have limited yield, inconsistent mix quality, and significant safety requirements for respiratory protection and ventilation. The material also adheres permanently; mistakes require mechanical removal.
Attic Air Sealing at Scale
Sealing top plates, the horizontal framing members where interior walls meet the attic floor, requires working across the full attic surface, often in low-clearance areas near the eaves. Professionals use LED work lighting, pole-mounted foam guns, and rigid blocking material to seal large openings. The task is tedious and positionally demanding; in Westminster’s older homes with 4/12 pitch roofs, the last few feet near the eaves are often inaccessible without specialized techniques.
California Title 24 Compliance: The Permit Barrier
California’s Title 24 energy code creates a hard boundary that many Westminster homeowners don’t encounter until they’re selling, refinancing, or pulling a permit for related work. If your insulation project requires a permit, and many envelope improvements do when they’re part of a larger remodel or HVAC replacement, the compliance documentation must be completed by a licensed contractor.
The specific forms are CF2R (Certificate of Installation) and CF3R (Certificate of Final Inspection). These document that insulation was installed to the correct R-value, that air sealing was performed where required, and that the work meets the prescriptive or performance path of the current energy code. A homeowner acting as their own contractor on an owner-builder permit can perform the physical work, but the HERS (Home Energy Rating System) verification and final sign-off still require a licensed professional for the CF2R/CF3R documentation.
In Westminster, which falls under Orange County jurisdiction for building permits, this matters particularly for:
- Whole-house re-insulation projects that trigger energy code compliance
- HVAC replacements where duct sealing and envelope improvements are tied to the permit
- Additions or remodels where the existing envelope must be brought up to current standards
- Properties where a lender or buyer requests energy compliance documentation
DIY installation without permit compliance documentation may function physically but cannot generate the paperwork required to close a permitted project or satisfy a buyer’s due diligence. We’ve been called to Westminster homes where a seller’s DIY attic insulation, competently installed, had to be partially removed and re-documented by a licensed contractor to clear escrow.
Cost Comparison: DIY vs. Professional in Westminster
The framing of this decision as “cheap DIY versus expensive pro” misses how the cost models actually work in the Westminster market. For a detailed breakdown, see our Insulation Cost Breakdown: The Westminster Homeowner’s Reference for 2026. Here’s what each path costs and what it delivers.
DIY Blown-In Attic Insulation
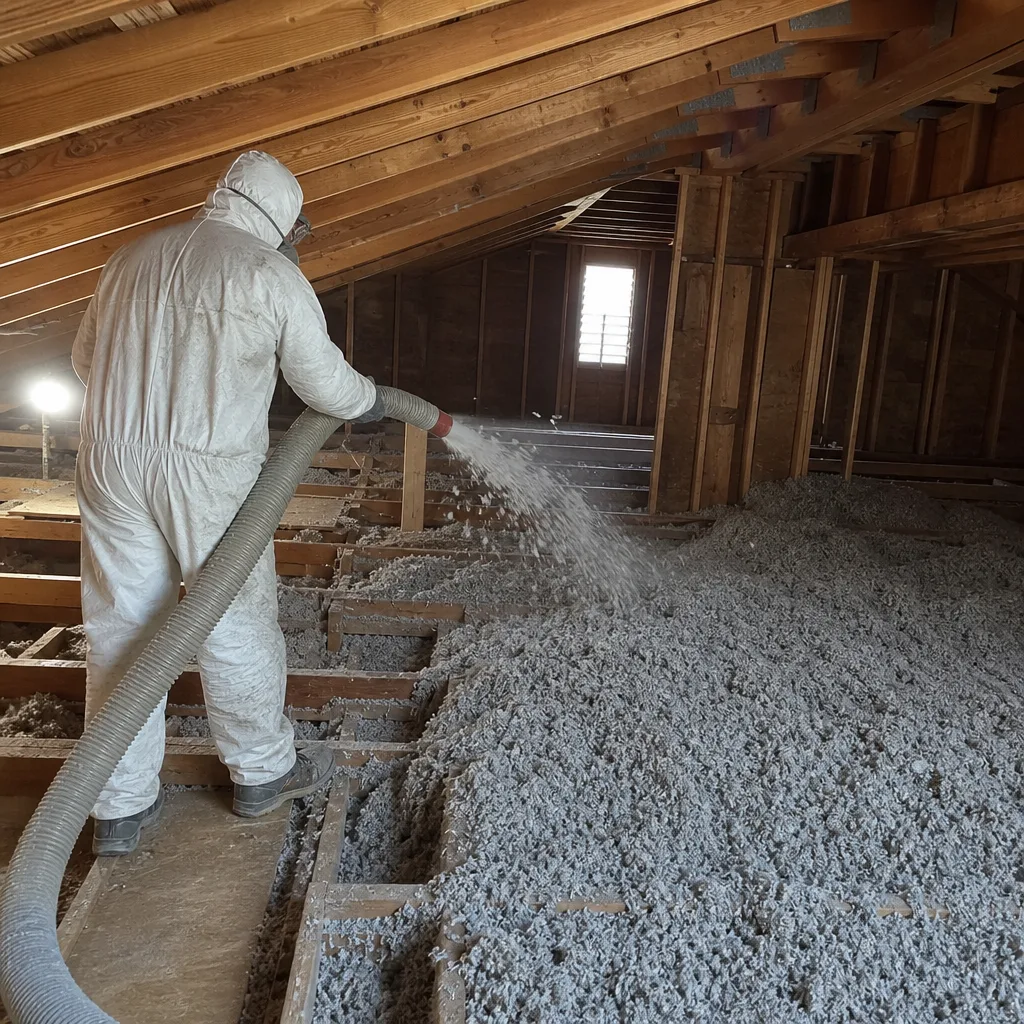
Material: GreenFiber or similar cellulose runs approximately $12-$16 per bag at Westminster-area home centers. A 1,000-square-foot attic to R-38 requires 30-40 bags, so $360-$640 in material. Rental blower: $75-$150 per day. Protective gear, lighting, access equipment: $50-$100. Total outlay: $485-$890.
What you get: added R-value over the attic floor, assuming even distribution and no compression. What you don’t get: air sealing, diagnostic verification, or documentation of any kind. If the attic has unsealed can lights, top-plate gaps, or a leaky duct chase, the performance improvement is partial and unmeasured.
Professional Attic Insulation with Air Sealing
Most attic insulation jobs in a Westminster home of 1,000-1,500 square feet run between $2,800 and $5,500 when air sealing is included in scope. The variance depends on accessibility, existing material condition, and whether insulation removal is required first.
What the professional bid includes that DIY cannot:
- Blower-door test before work begins, with CFM50 baseline
- Air sealing of top plates, can lights, electrical penetrations, duct chases, and attic hatch
- Post-work blower-door test verifying leakage reduction
- Written scope, written price before work starts, written warranty
- Documented Photo Record of conditions and completed work
- Title 24 compliance documentation if the project is permitted
The critical comparison is not material cost versus material cost. It’s whether the air sealing scope, which typically accounts for 30-40% of the professional bid, changes the outcome enough to justify the premium. In our experience across 9,000+ homes sealed and insulated since 2016, the sealed-then-insulated attic outperforms the insulated-only attic by a factor that depends on starting leakage but often doubles the effective utility savings.
The Hidden Cost of DIY: Locked-In Leakage
There’s a cost to DIY that doesn’t appear on the receipt. When you blow insulation over an unsealed attic floor, you make future air sealing more expensive. The leaks are now buried. A crew must move or remove material to access top plates, must work around new depth to find penetrations, and must protect the installed insulation from contamination during sealing work. The homeowner who skips sealing to save money often pays more later to do it in reverse order.
Using DIY Work as a Supplement to Professional Service
The most cost-effective approach for many Westminster homeowners is not either/or but sequenced: handle the prep and simple tasks yourself, then bring in professionals for diagnostics, air sealing, and the insulation installation that requires equipment you don’t own.
Tasks to Complete Before the Crew Arrives
- Clear attic storage. Move boxes, holiday decorations, and any items that block access to the full attic floor. Professional crews bill for time spent moving homeowner belongings.
- Verify attic access. If your pull-down stairs are damaged or the opening is too small for material transport, repair or enlarge it before the job date. In Westminster’s single-story ranch homes, this is rarely an issue; in two-story homes with access through a closet, it can delay work.
- Install outlet gaskets on exterior walls. This is simple, saves billable time, and reduces the leakage the crew must address.
- Replace the attic hatch weatherstripping if it’s visibly degraded. The crew will verify the seal, but starting with functional material avoids a change order.
- Identify and mark areas of concern. Water stains, rodent evidence, or suspected electrical issues should be pointed out during the initial walkthrough.
What to Leave for the Professionals
Don’t attempt to seal top plates, can lights, or duct chases yourself. These require working across the full attic surface, often in confined space, with proper lighting and the ability to verify seal quality. Don’t remove old insulation unless you’ve had it tested for asbestos; many Westminster homes built before 1980 have vermiculite or early fiberglass products that require abatement protocol. Don’t disturb knob-and-tube wiring if present; some older Westminster neighborhoods still have active KT circuits that must be evaluated by an electrician before insulation contact.
The prep work you do reduces billable hours on simple tasks. The professional work you pay for delivers measured performance that DIY cannot replicate. Under Haven Standard: Have it in writing, the scope separates clearly between homeowner prep and contracted work so there’s no ambiguity about who’s responsible for what.
How Westminster’s Climate Affects Your Insulation Strategy
Westminster sits in Orange County’s coastal plain, 3-5 miles from the Pacific, which moderates temperatures but creates specific envelope challenges that should inform any insulation decision.
The marine layer influence means Westminster sees more cooling-degree days than heating-degree days annually, but the swing is narrower than inland Orange County. Attic insulation here works harder in summer than winter, which changes the priority of radiant barrier versus pure R-value. In neighborhoods east of Beach Boulevard, where morning cloud cover burns off earlier, attic temperatures can reach 140°F in July and August. A sealed attic with adequate insulation and proper ventilation handles this; an unsealed attic with insulation bypassed by air leakage will drive conditioned air loss and extended AC runtime.
The mild winters mean that even R-30 in a well-sealed attic performs adequately for heating, but R-19 in a leaky attic feels inadequate because the furnace is effectively heating the attic intermittently. This is the sequencing point again: the same R-value performs differently depending on air sealing quality.
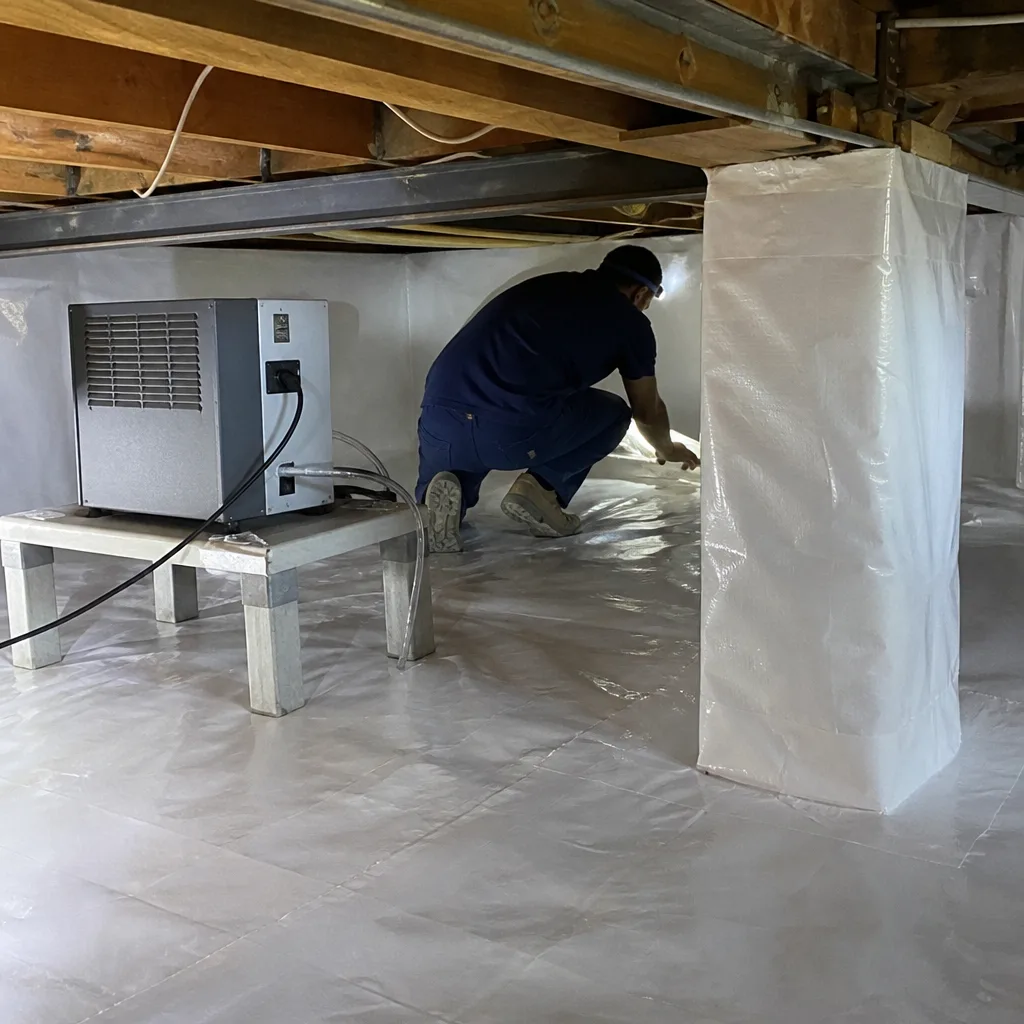
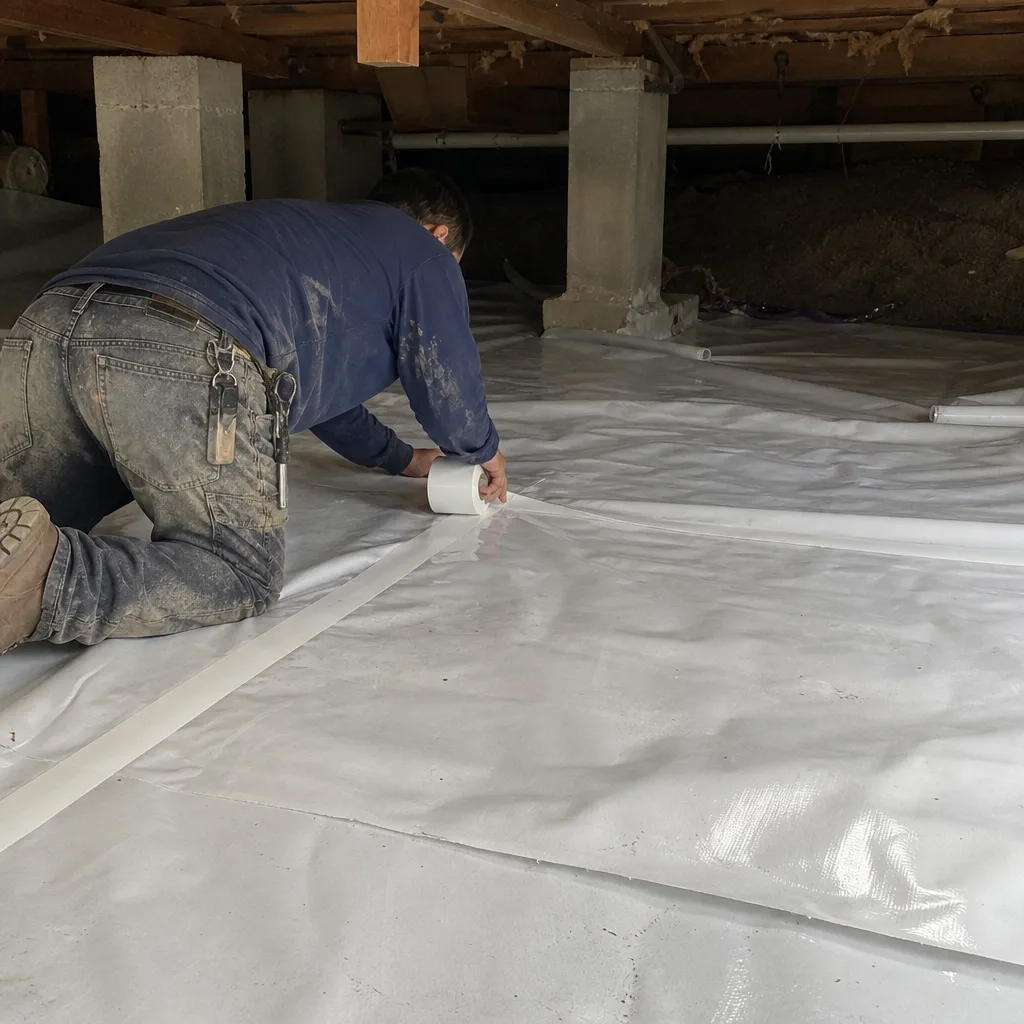
Humidity is moderate but persistent. Westminster’s average annual relative humidity hovers around 65-70%, which means vapor drive considerations matter for material selection. Crawl space encapsulation and vapor barrier in Westminster is often the higher-priority project for homes with raised floors, because ground moisture enters through the crawl space and affects indoor conditions more than attic heat gain in some floor plans.
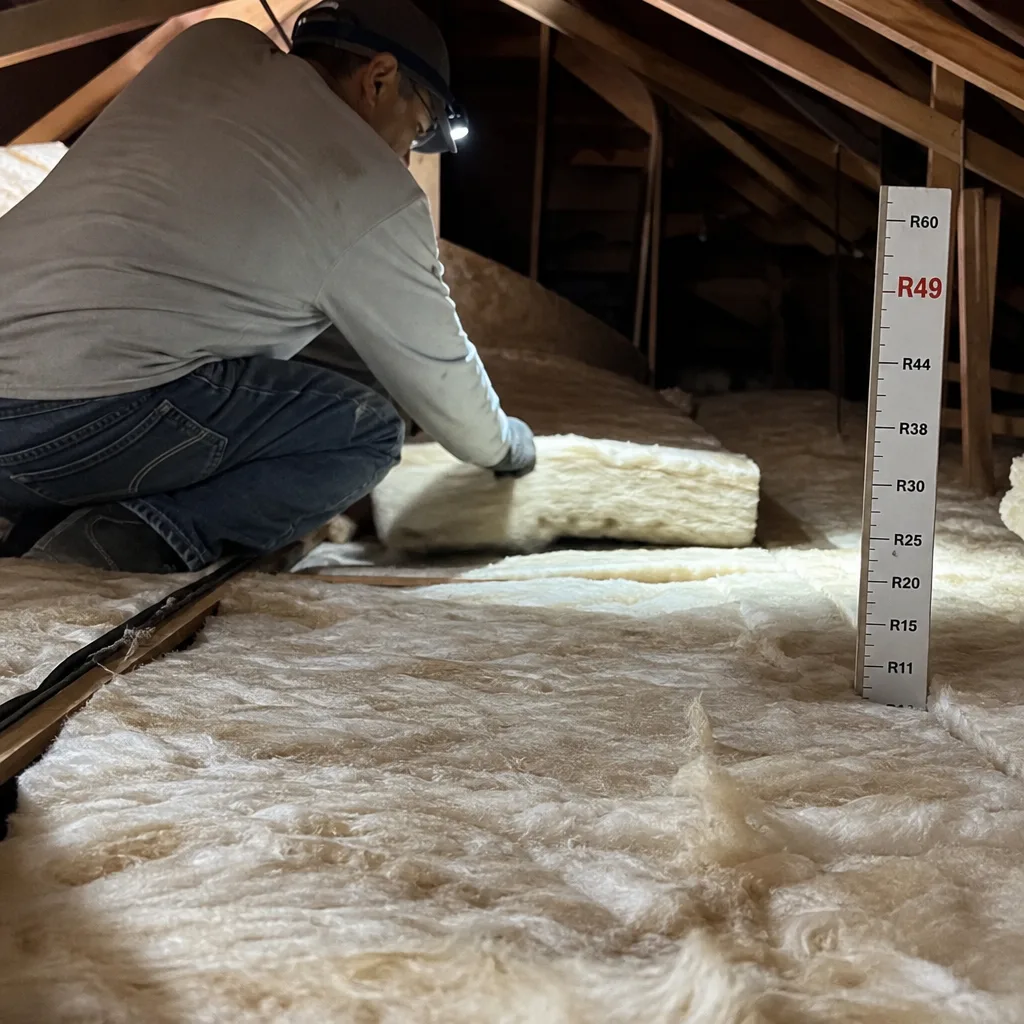
For attic work specifically, the climate case for professional air sealing is strongest in summer. A blower-door-guided seal of can lights and top plates, followed by insulation to R-38 or R-49, typically reduces cooling load enough that homeowners report shorter AC cycles and more even temperatures between rooms. Without the sealing, the insulation slows but doesn’t stop the heat transfer, and the air leakage carries conditioned air out as fast as the system replaces it.
Common Mistakes to Avoid
- Insulating over active leaks. In Westminster’s winter rainy season, a roof leak that wets insulation goes unnoticed longer when new material covers the stain. Always verify roof integrity before adding insulation; water-degraded R-value is zero, and mold follows quickly in our humidity.
- Compressing batts into narrow cavities. A batt labeled R-30 achieves that rating at full loft, typically 9.5 inches. Cramming it into a 6-inch cavity yields R-19 performance and creates gaps at the edges. Use the right thickness or switch to dense-blown material.
- Skipping the attic hatch. Homeowners meticulously insulate the attic floor, then leave a 6-square-foot uninsulated, unsealed hole that leaks continuously. The hatch is part of the thermal boundary; treat it as such.
- Blocking soffit vents with insulation. Westminster homes with vented attics need intake at the soffit and exhaust at the ridge. Insulation pushed against the eaves without baffles chokes airflow, trapping moisture and overheating the attic. Baffles cost $2-$4 each and install in minutes.
- DIY spray foam without respiratory protection. Two-component foam isocyanates are sensitizers; inadequate protection can trigger lifelong asthma. Professional crews use supplied-air respirators and sealed work zones. The hardware store kit doesn’t include adequate protection for the application volume.
- Assuming all insulation is equal. Fiberglass, cellulose, mineral wool, and foam each have distinct properties: fire resistance, moisture tolerance, air-sealing contribution, and installed density. In Westminster’s climate, CertainTeed fiberglass or Rockwool mineral wool are common attic choices; Icynene open-cell foam is typically reserved for rim joists and specialized applications where air sealing and insulation must be simultaneous.
- Neglecting to document before-and-after conditions. Whether DIY or professional, photograph everything: existing insulation depth, visible leaks, electrical conditions, and completed work. In Westminster’s active real estate market, documentation protects resale value and resolves disputes. Our Documented Photo Record on every visit exists because we’ve seen too many “he said, she said” situations that photos would have prevented.
When to Call a Professional
Call a professional when the work requires diagnostics you cannot perform, equipment you cannot reasonably access, or documentation that California law reserves for licensed contractors. If you’re evaluating contractors, our How to Hire a Insulation Contractor in Westminster: A Step-by-Step Guide covers what to ask and verify. Specifically: blower-door testing to guide air sealing, dense-pack wall insulation, two-component spray foam, any permitted work requiring CF2R/CF3R forms, and any situation where existing conditions (asbestos, knob-and-tube wiring, active roof leaks) require evaluation before insulation contact.
Topside Attic Insulation Westminster offers free estimates in Westminster. We’ll walk your attic, run a blower-door test if applicable, and give you a written price before any work starts. If you have a competing quote, bring it; under our Free Second Opinion on Any Written Estimate, we’ll read it with you and identify what’s included, what’s omitted, and what sequencing matters for your specific home. Call (562) 526-6978 to schedule.
Frequently Asked Questions
Most attic insulation jobs in a Westminster home of 1,000-1,500 square feet run between $2,800 and $5,500 when air sealing is included, with variance based on accessibility, existing material condition, and whether removal is required first. DIY material-only costs $485-$890 but excludes air sealing, diagnostics, and documentation. Call (562) 526-6978 for a written estimate specific to your home; estimates are free.
You can, but it’s usually more expensive than doing both in the correct sequence. Once insulation covers the attic floor, a crew must move or remove material to access top plates, can lights, and penetrations for sealing work. The labor to work around or through installed insulation typically exceeds the cost of sealing first, then insulating. If your budget requires phasing, seal first, insulate second.
Unpermitted DIY insulation doesn’t automatically reduce value, but it creates documentation gaps that buyers and lenders may flag. In Westminster’s competitive market, buyers increasingly request energy audit data or proof of professional installation. Permitted work with CF2R/CF3R documentation, or at minimum a professional’s written scope and warranty, transfers more cleanly than homeowner-performed work with no paper trail.
Current California Title 24 prescriptive requirements call for R-38 to R-49 in attics for most climate zones including Westminster’s. However, the effective R-value of installed insulation depends on thickness, density, and whether air leakage bypasses it. A sealed attic at R-38 often outperforms an unsealed attic at R-49. The R-value on the bag is a laboratory measurement; your actual performance depends on installation quality and envelope tightness.
Open-cell spray foam like Icynene excels at rim joists, cathedral ceilings, and any location where air sealing and insulation must happen simultaneously in a confined space. For standard vented attics with adequate access, blown fiberglass or cellulose over proper air sealing typically delivers better cost-per-R-value. Foam’s premium is justified where geometry prevents conventional installation or where the air barrier function is as important as the insulation value.
Signs that air sealing should precede insulation: visible gaps at top plates where interior walls meet the attic floor, recessed can lights that aren’t IC-rated and airtight, bathroom fan housings that vent into the attic rather than through the roof, and a blower-door test showing CFM50 above 3,500 in a home under 2,000 square feet. In Westminster’s 1960s-1980s housing stock, these conditions are the norm rather than the exception. A professional blower-door test removes the guesswork.
Owner-builder permits are available through Orange County for homeowners who perform their own work, but the CF2R/CF3R energy compliance documentation must still be completed by a licensed contractor or certified HERS rater. You can install the material; you cannot sign off on the energy code compliance yourself. For many homeowners, this distinction makes professional installation simpler than navigating the compliance pathway alone.
The Bottom Line
The DIY versus professional insulation question in Westminster is less about material cost and more about diagnostic access and sequencing. Homeowners can realistically handle batt replacement, hatch weatherstripping, and outlet gaskets. What changes performance is the work that comes before insulation: blower-door-guided air sealing of top plates, can lights, and penetrations. Without it, even correctly installed insulation delivers partial results, and the leakage pathways become harder to address later. California’s Title 24 compliance rules add a documentation layer that DIY cannot satisfy for permitted work. For homeowners who want measured, documented, warranted results, professional service that sequences sealing first and insulation second, with before-and-after blower-door numbers, is the path that aligns cost with outcome.
Written by Wes Okafor, Owner at Topside Attic Insulation Westminster, serving Westminster since 2016.