
Rockwool Vapor Barrier Installation: The Westminster Owner’s Guide
Rockwool vapor barrier installation in Westminster typically runs $1,800-$3,400 for a complete attic or crawl space application, depending on square footage and whether existing insulation needs removal first. We stock Rockwool Comfortboard, Comfortbatt, and AFB-compatible vapor barrier membranes on our Westminster truck, and most residential jobs are completed in a single day. Homeowners usually discover the problem when they pull back insulation in a damp corner and find the old polyethylene sheeting has gone brittle, torn at the seams, or was never properly sealed to begin with.
Which Rockwool Models This Applies To
Rockwool’s stone wool insulation is hydrophobic - it doesn’t absorb liquid water - but it will not stop water vapor from passing through. That’s the job of the vapor barrier, and the pairing matters. We install vapor barriers with Rockwool Comfortbatt (standard residential batts, R-15 to R-23), Comfortboard 80 and 110 (exterior rigid board applications where a weather-resistive barrier is integrated), and AFB (Acoustical Fire Batts) in multi-family work around Westminster’s denser neighborhoods near Brookhurst and Goldenwest.
Identification is straightforward: Comfortbatt has the distinctive brown tone and friction-fit sizing; the vapor barrier spec is determined by the assembly, not the batt itself. For attics in Westminster’s mild marine climate, we typically specify a Class II vapor retarder (0.1-1.0 perm) rather than the Class I polyethylene sheet that traps moisture in older homes. The OEM approach from Rockwool is to specify CertainTeed MemBrain or similar smart retarders in their assembly details, but we also install quality aftermarket equivalents from Stego and VaporBlock when the job calls for a more robust membrane at foundation walls or crawl space encapsulation.
One compatibility gotcha: Comfortboard on exterior walls requires a rainscreen and WRB detail, not a traditional interior vapor barrier. We’ve seen DIYers wrap the board in polyethylene on both sides, which creates a moisture sandwich. The correct assembly depends on whether the insulation is on the warm-in-winter side or the exterior of the sheathing.
Signs Your Rockwool Vapor Barrier Installation Is Failing
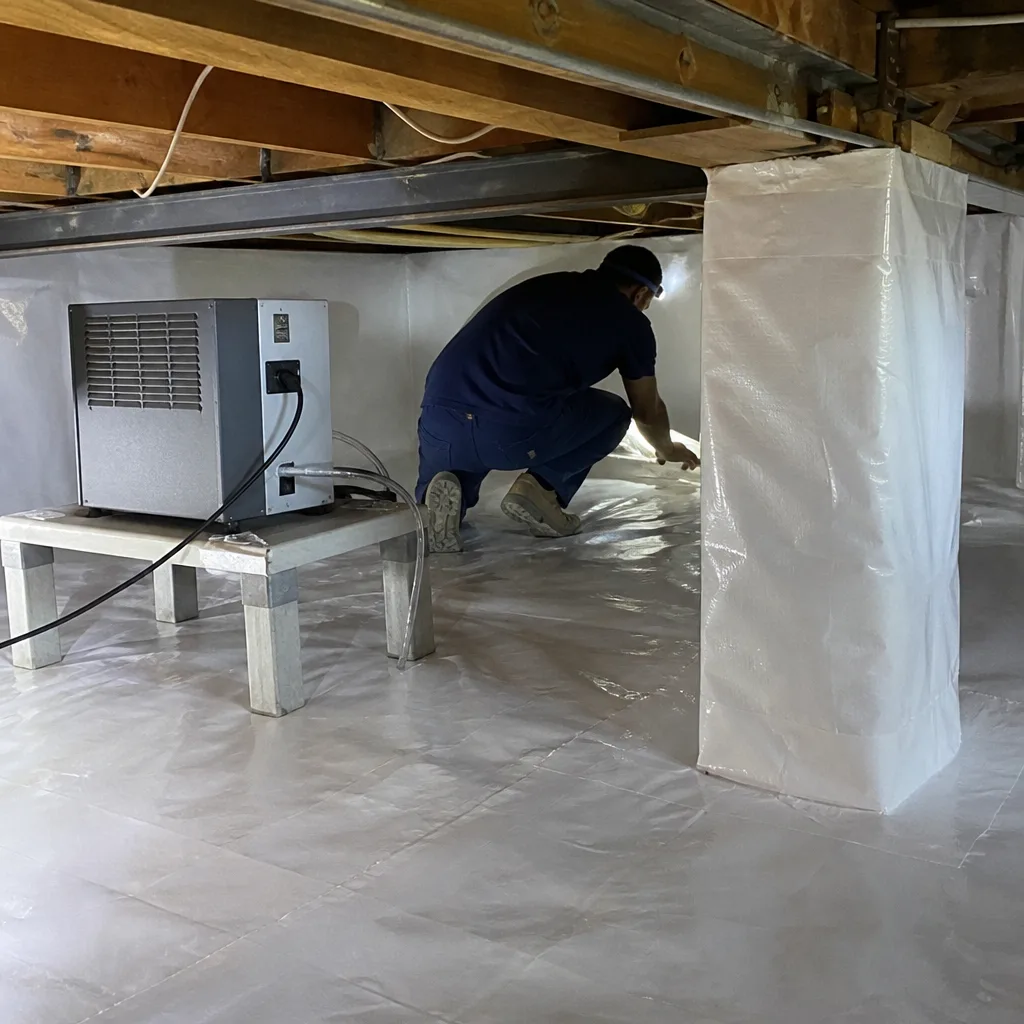
- Musty odor in the attic or crawl space. Water vapor is condensing on the cold side of the insulation because the barrier has torn at seams or pulled away from top plates. In Westminster’s spring fog season, this accelerates - we see it most in homes built 1965-1985 with original kraft-faced batts that have lost their facing adhesion.
- Visible mold on the Rockwool’s paper facing or on adjacent framing. Rockwool itself is mold-resistant, but organic dust and the kraft paper backing are not. The vapor barrier failed to stop enough moisture, or it was installed on the wrong side of the assembly for this climate zone.
- Insulation that appears wet or matted in spots but dry elsewhere. This indicates localized failure - a gap in the vapor barrier at a plumbing penetration, electrical box, or chimney chase. Air is moving through the gap, carrying vapor that condenses on the first cold surface it hits.
- Peeling paint or water stains on ceiling drywall below the attic. The vapor barrier is either missing entirely in that bay or the attic floor was never properly sealed before insulation went in. We find this regularly in Westminster’s ranch-style homes with recessed can lights that were never airtight.
- Energy bills climbing without equipment changes. Wet insulation performs at a fraction of its rated R-value. A vapor barrier failure lets moisture accumulate until the Rockwool is effectively R-8 instead of R-30, and your HVAC works harder to compensate.
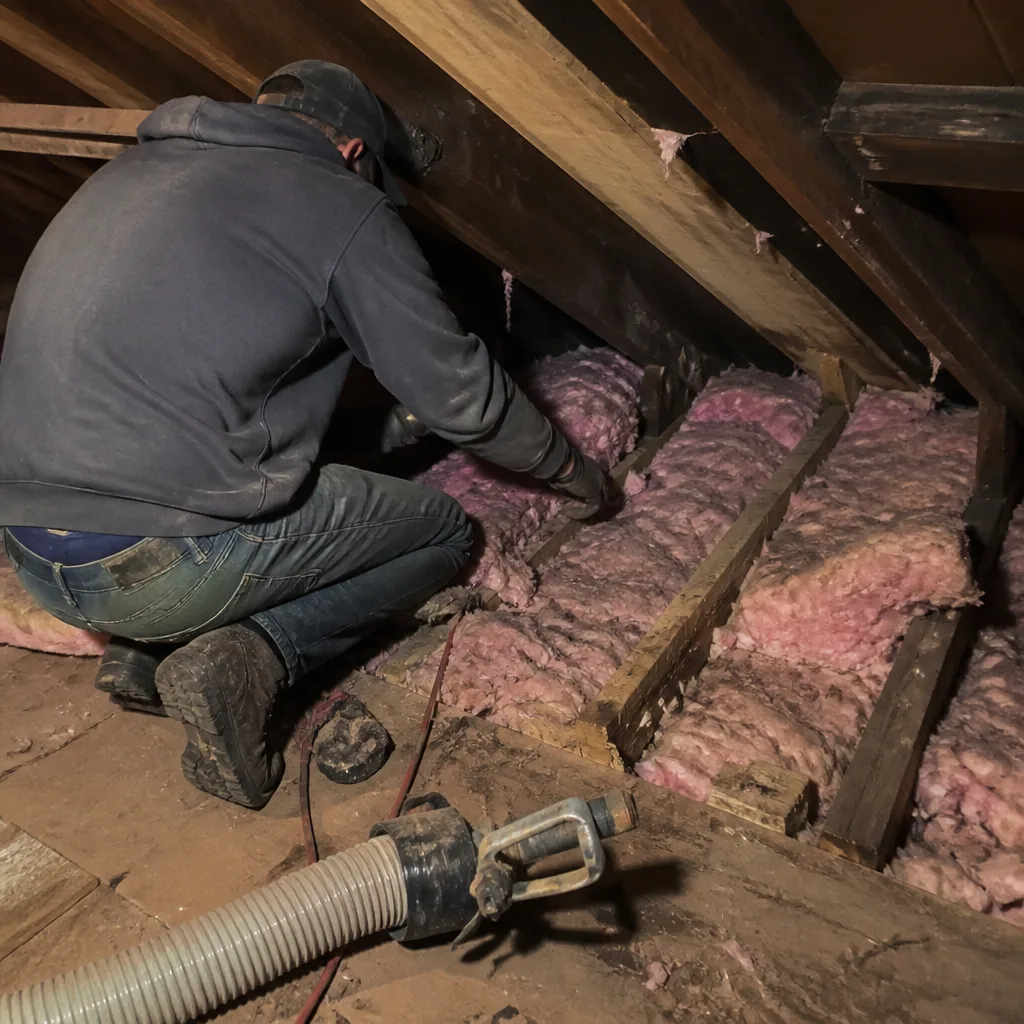 Before
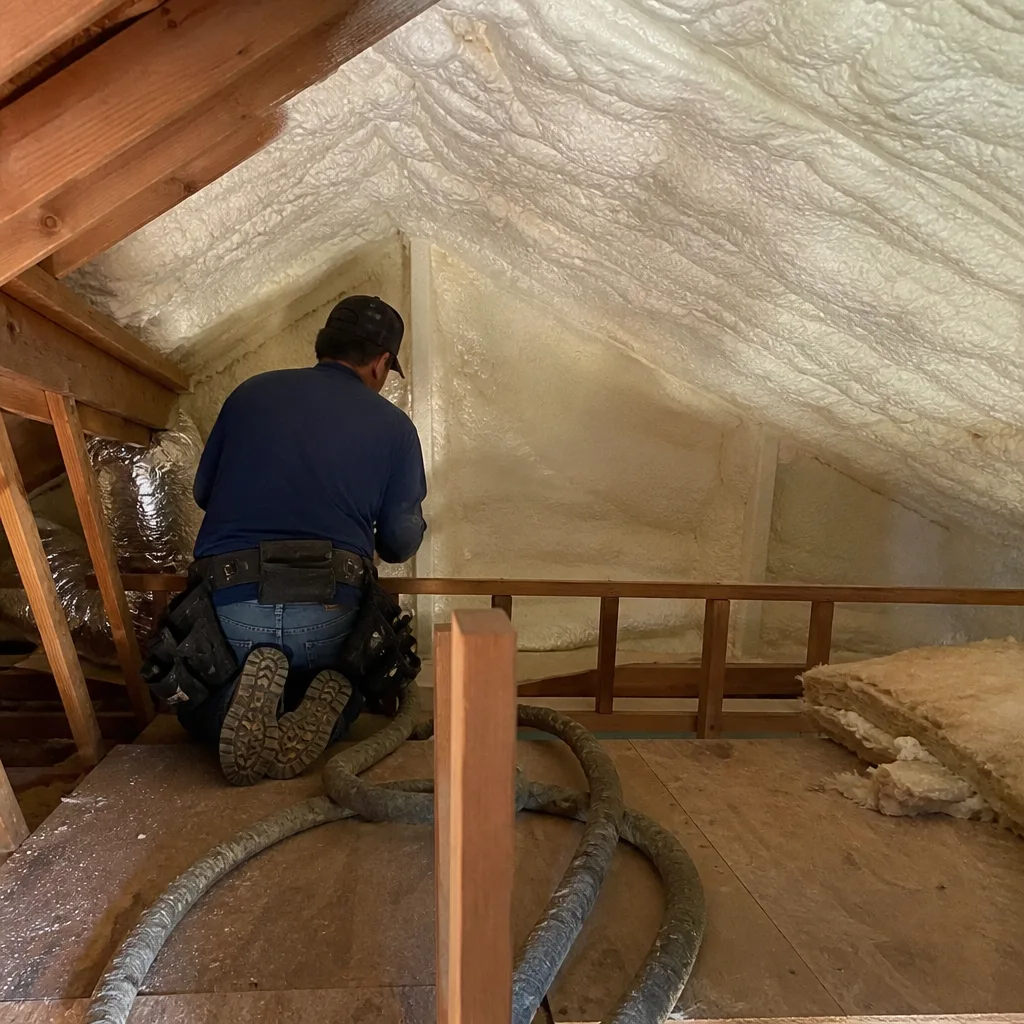 After
AfterReplacement Cost & What’s Included
| Scope | Typical Range |
|---|---|
| Vapor barrier retrofit over existing Rockwool (attic, accessible) | $1,800 - $2,600 |
| Complete removal, air sealing, new Rockwool + vapor barrier | $2,800 - $3,400 |
| Crawl space encapsulation with Rockwool wall insulation + ground vapor barrier | $3,200 - $4,500 |
| Spot repair (localized failure, one bay or section) | $450 - $850 |
What drives the range: square footage, accessibility (attic height, crawl space clearance), whether existing insulation is contaminated or compressed, and how much air sealing is needed before the new barrier goes in. Our price includes removal and disposal of old materials, installation of the specified vapor retarder with taped seams and sealed penetrations, and replacement or supplementation of Rockwool to the depth specified in your written scope. Every job gets a Documented Photo Record and, where applicable, before-and-after blower-door numbers. Under Haven Standard Clause 1, you get a flat written price before anyone lifts a tool - no surprises. The 365-Day Done Right Promise covers all completed work.
DIY or Call Us?
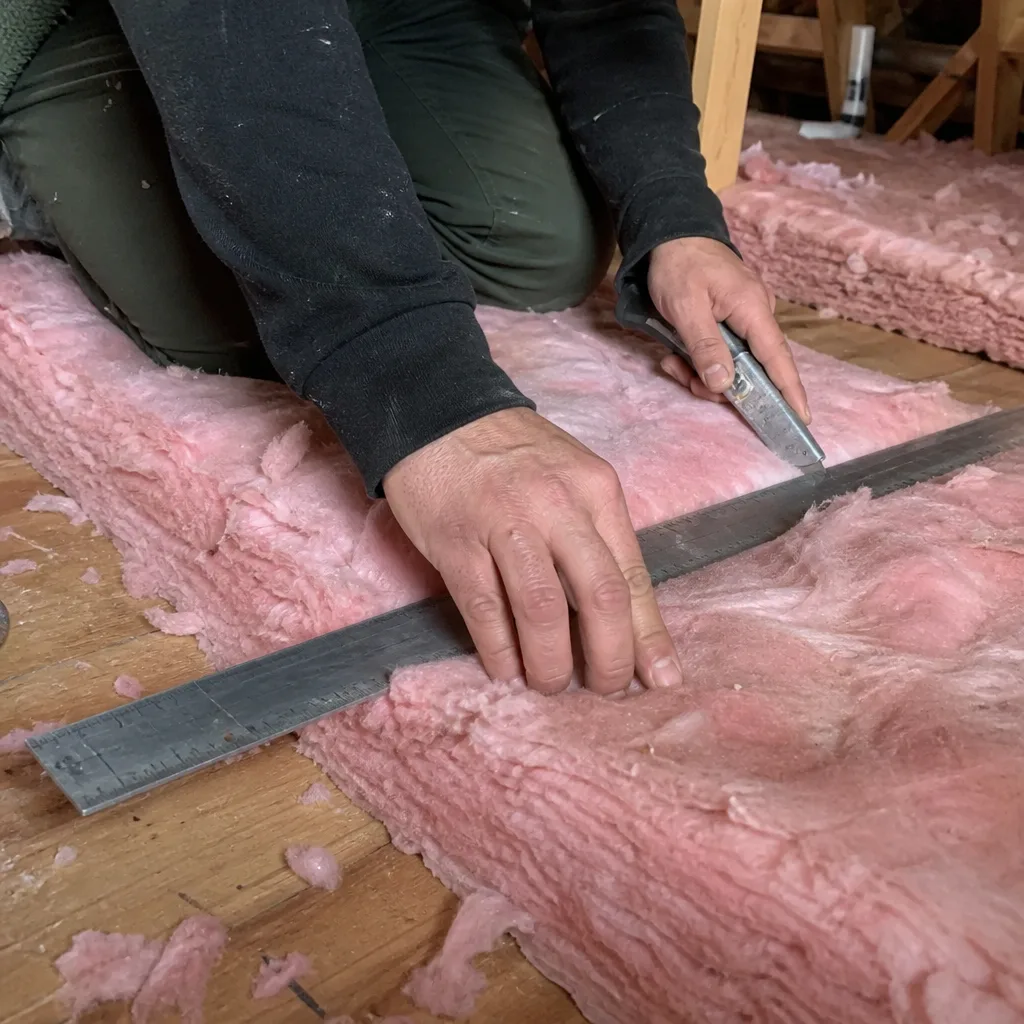
There’s no high-tension danger here, but there is a precision problem. A homeowner can safely inspect their own attic or crawl space with a flashlight and a respirator - look for torn polyethylene, gaps at penetrations, or mold on framing. What goes wrong in DIY is the sequencing: vapor barrier installation without prior air sealing is the most common mistake we correct. The barrier goes over sealed surfaces, not leaky ones. If you can see daylight around a chimney or feel air movement at an electrical box, the bypass needs two-part foam before any membrane is laid down.
We also see homeowners install the vapor barrier on the wrong side of the wall or ceiling assembly for Westminster’s climate. In Orange County’s mixed-humidity zone, a Class I polyethylene sheet on the interior of an air-conditioned home can trap summer moisture inside the wall cavity. The correct perm rating and placement depend on the assembly and the direction of seasonal vapor drive. Call (562) 526-6978 and we’ll walk through what you’re seeing - our Free Second Opinion applies to your own assessment too.
FAQs
A properly installed vapor barrier in a Westminster attic should last 20-30 years, but the critical variable is the air sealing beneath it. We’ve torn out 8-year-old polyethylene that failed because bypasses around top plates let air pump through, carrying moisture that degraded the membrane from behind. Seal the bypasses first. The R-value on the bag is only real if the air has nowhere else to go. Call (562) 526-6978 for an inspection - estimates are free.
Spot repair is viable for localized damage - a torn section over one bay, a failed seam at a penetration. We cut back to sound material, tape in new membrane, and verify continuity. Full replacement is the better choice when the original barrier is widespread poly from the 1970s or 1980s that’s gone brittle, or when we’re already removing insulation for air sealing. Wes Okafor will show you the photo evidence and give you both options in writing.
Most residential vapor barrier retrofits in Westminster are completed in one day. A full attic with removal, air sealing, and new Rockwool plus barrier typically takes a two-person crew 6-8 hours. Crawl space encapsulation runs longer - often two days - because of the confined working space and the need to seal foundation penetrations before laying the ground membrane. We text you when the crew is on the way, and you get the Documented Photo Record before we leave.
We stock Rockwool-compatible vapor retarder membranes, tapes, and fasteners on our Westminster truck, including smart retarders and Class I polyethylene for the assemblies that actually need it. Rockwool insulation itself is ordered to spec - Comfortbatt in R-15, R-21, R-23, and Comfortboard in 1-inch to 3-inch thicknesses - with typical delivery in 2-3 business days. We do not stock every thickness at every moment, but we plan the material pull the day you approve the written scope. Topside Attic Insulation Westminster is an independent service provider, not affiliated with Rockwool.
Ready to get it done right? Call (562) 526-6978 for a free written estimate. We’ll inspect your current assembly, show you the blower-door numbers if air sealing is part of the scope, and leave you with a flat price before any work starts - Haven Standard Clause 1, no exceptions.
Written by Wes Okafor, Owner & Lead Insulation Technician, Topside Attic Insulation Westminster at Topside Attic Insulation Westminster, serving Westminster and nearby areas.